Search This Blog

Saturday 9 July 2022

Graphic 45 Dreamland Journal, with mitred corners tutorial.

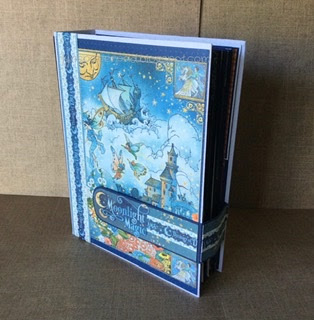
I love the G45 papers, the Dreamland series is just so beautiful, so I ordered a few bits for a project or two!

G45 Dreamland 12 x 12 double sided papers, G45 Dreamland Patterns & solids pack and G45 Dreamland Ephemera cards.


I have taken inspiration for this journal from ‘My Sisters Scrapper’, who has many videos and tutorials and ‘Scrap n Create’,
 who designed a Dreamland journal in 8”x 8” and has a blog and many page videos for G45. 
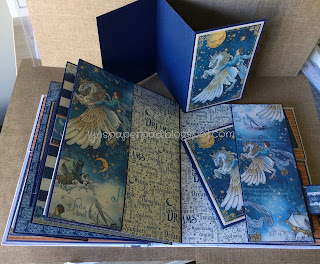
I wanted a rectangular journal to match the size of a previous journals with this album measuring 8 1/4” x 6 1/2” with a 1 1/2” spine to get three main pages into this  journal with several flaps increasing the pages.

The mitred corners I have previous found difficult, but my sisters scrapper has a great instructions in her video.  (See links)


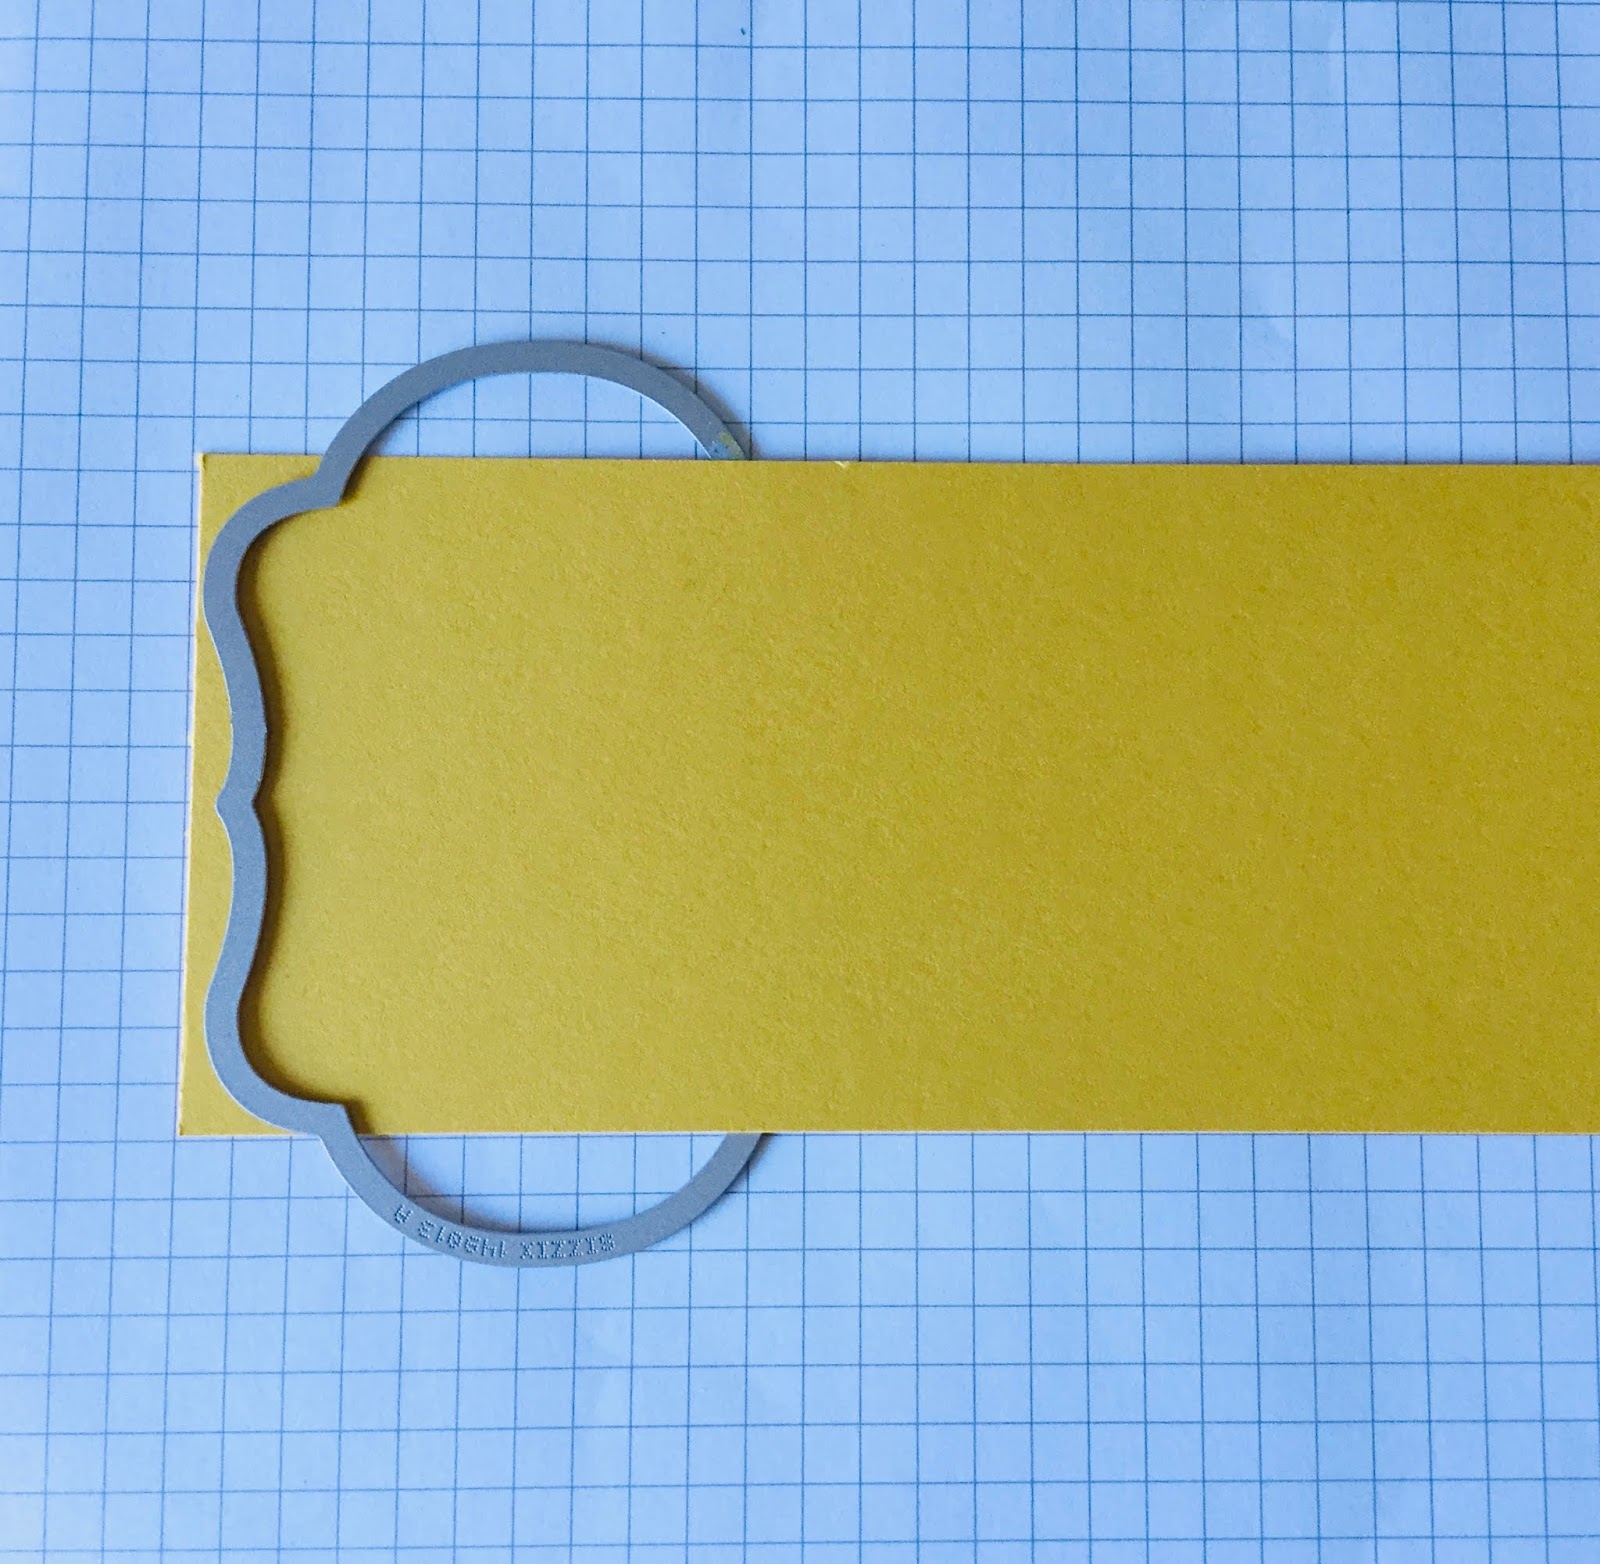
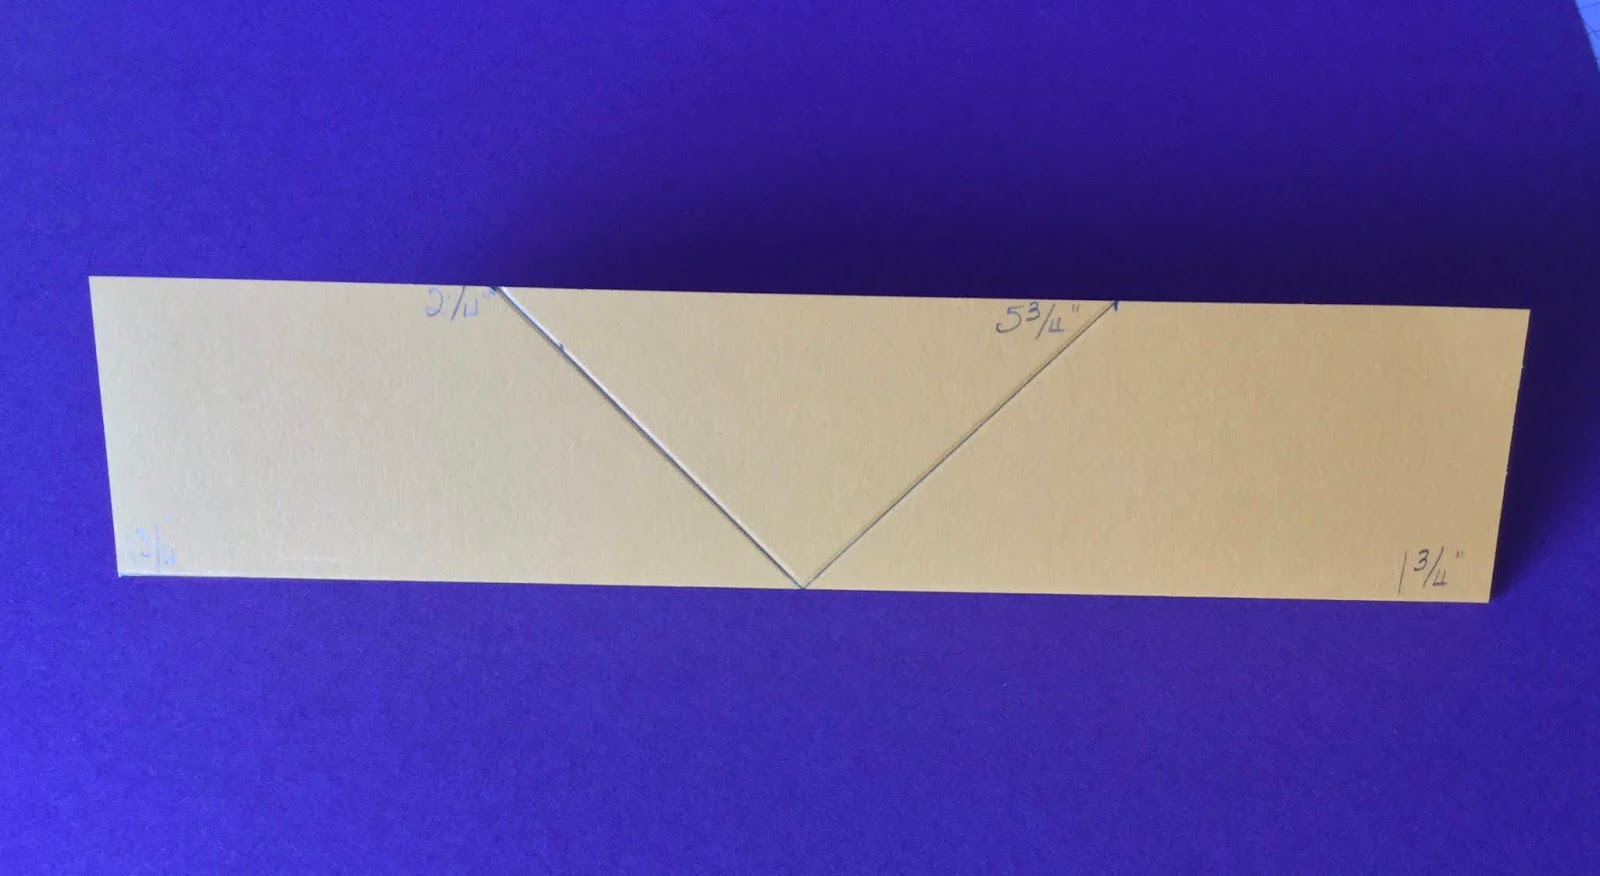
I have found it difficult to get an equal cutting line, so I drew a central line onto my binder and using a centre ruler on this line, I managed to achieve a ‘T’ alignment in the corner, and I drew along the ruler for the corner diagonal cutting line.
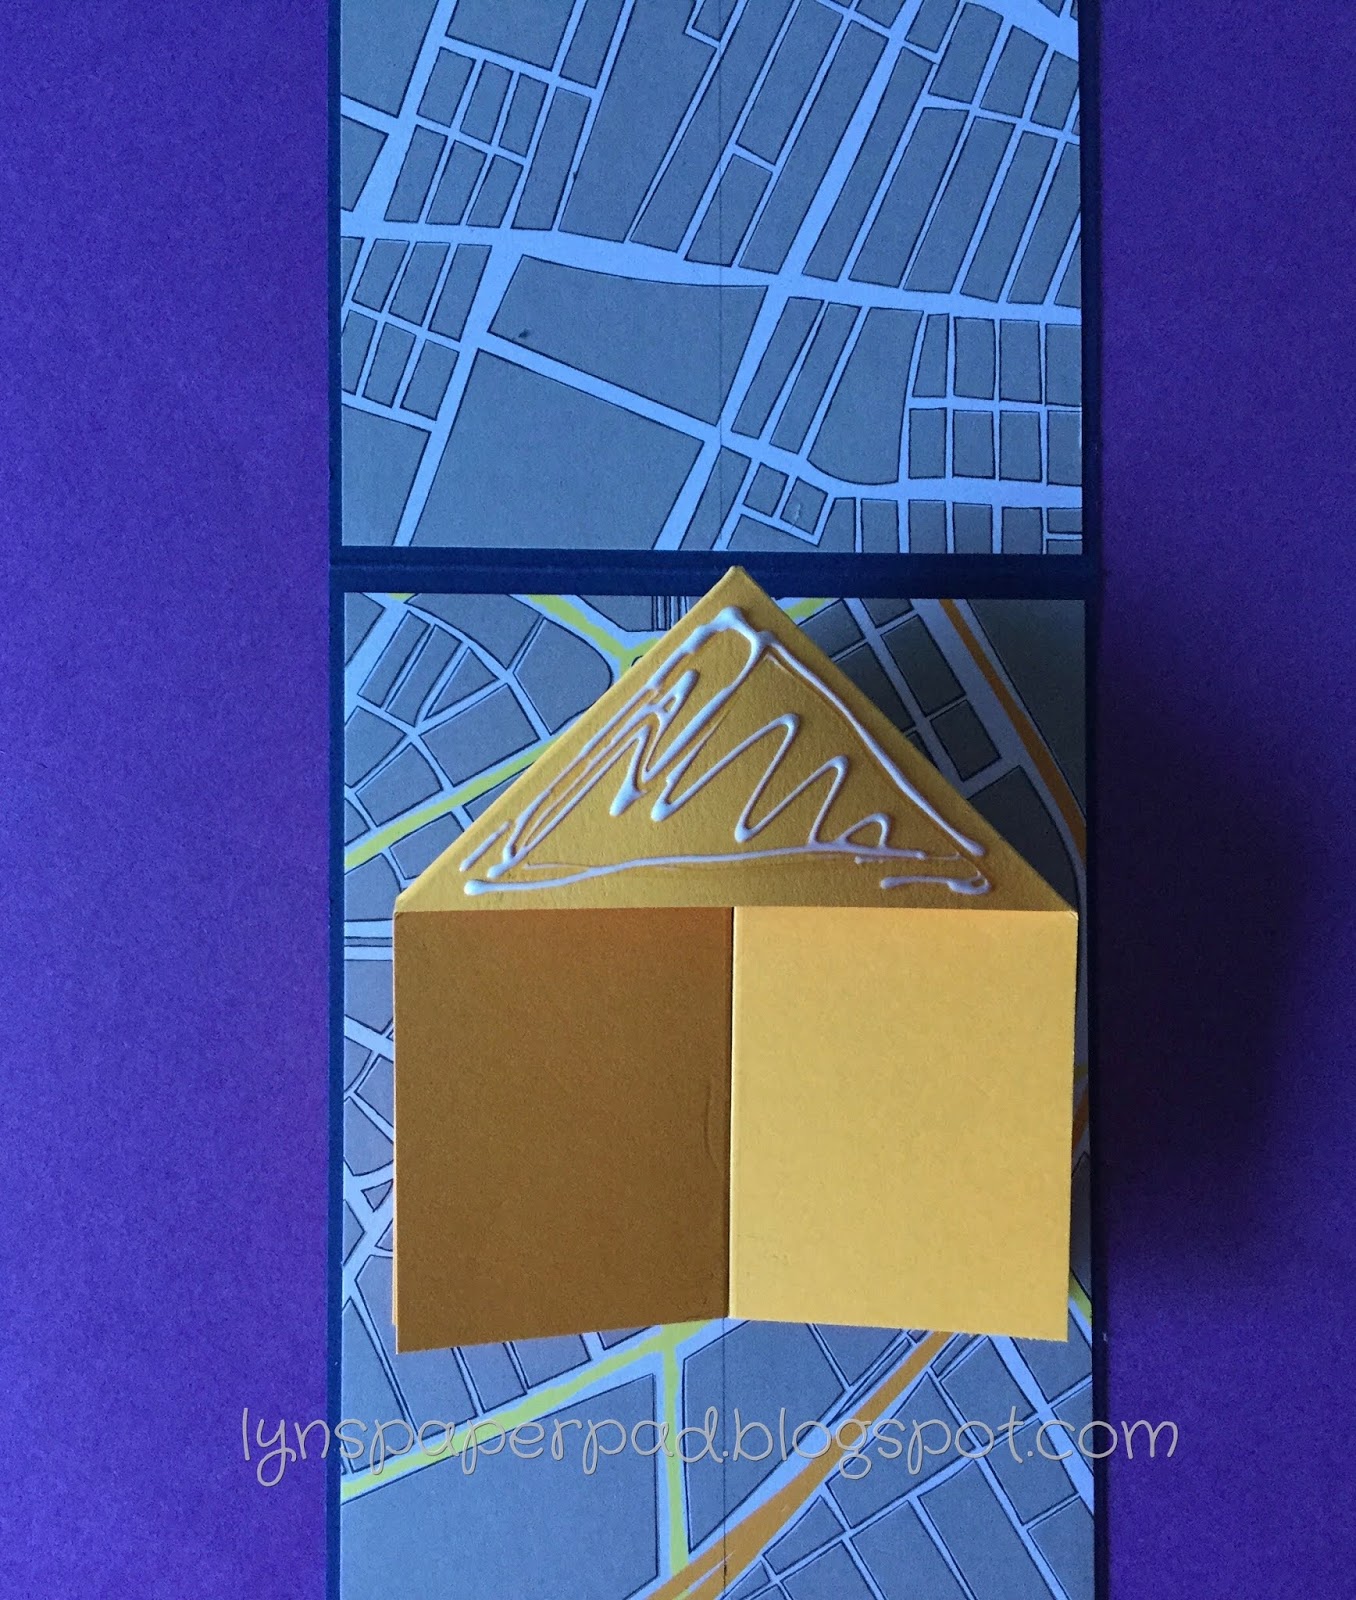

The inside front cover


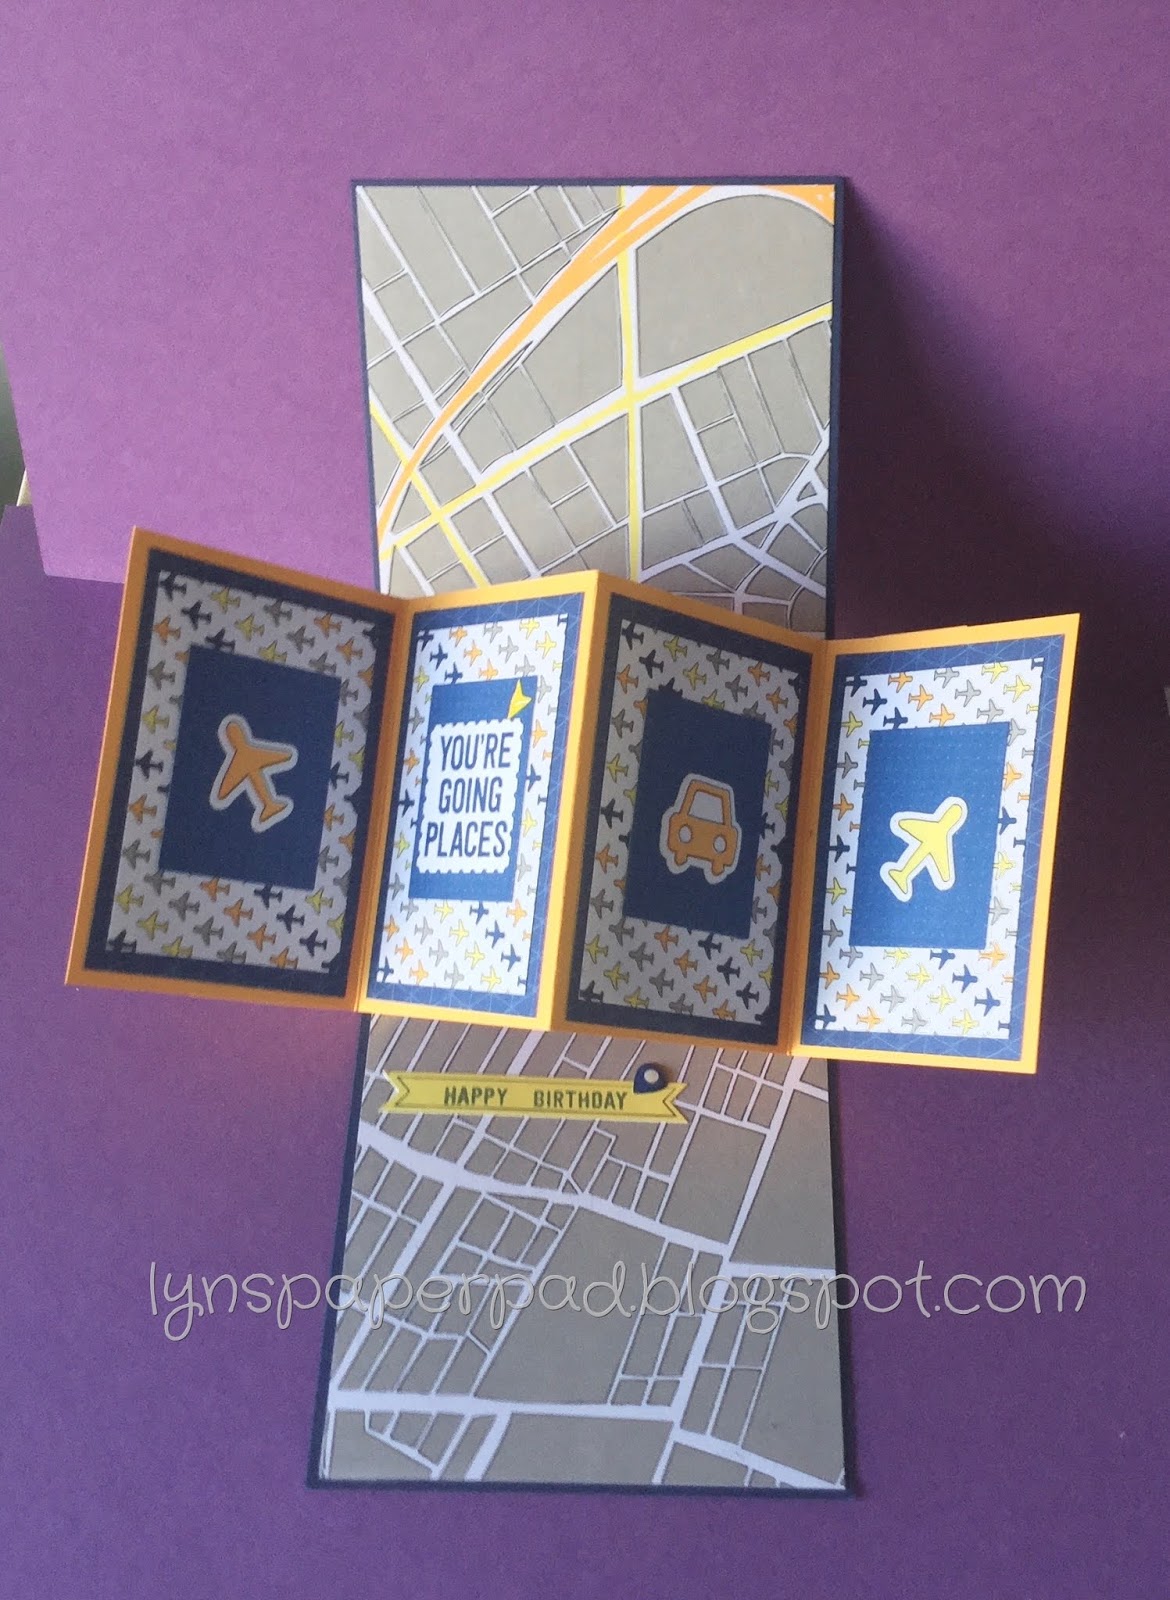
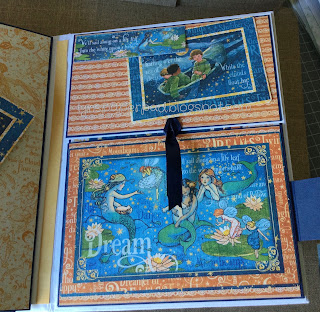
                                        The opened page underneath the bookmarks


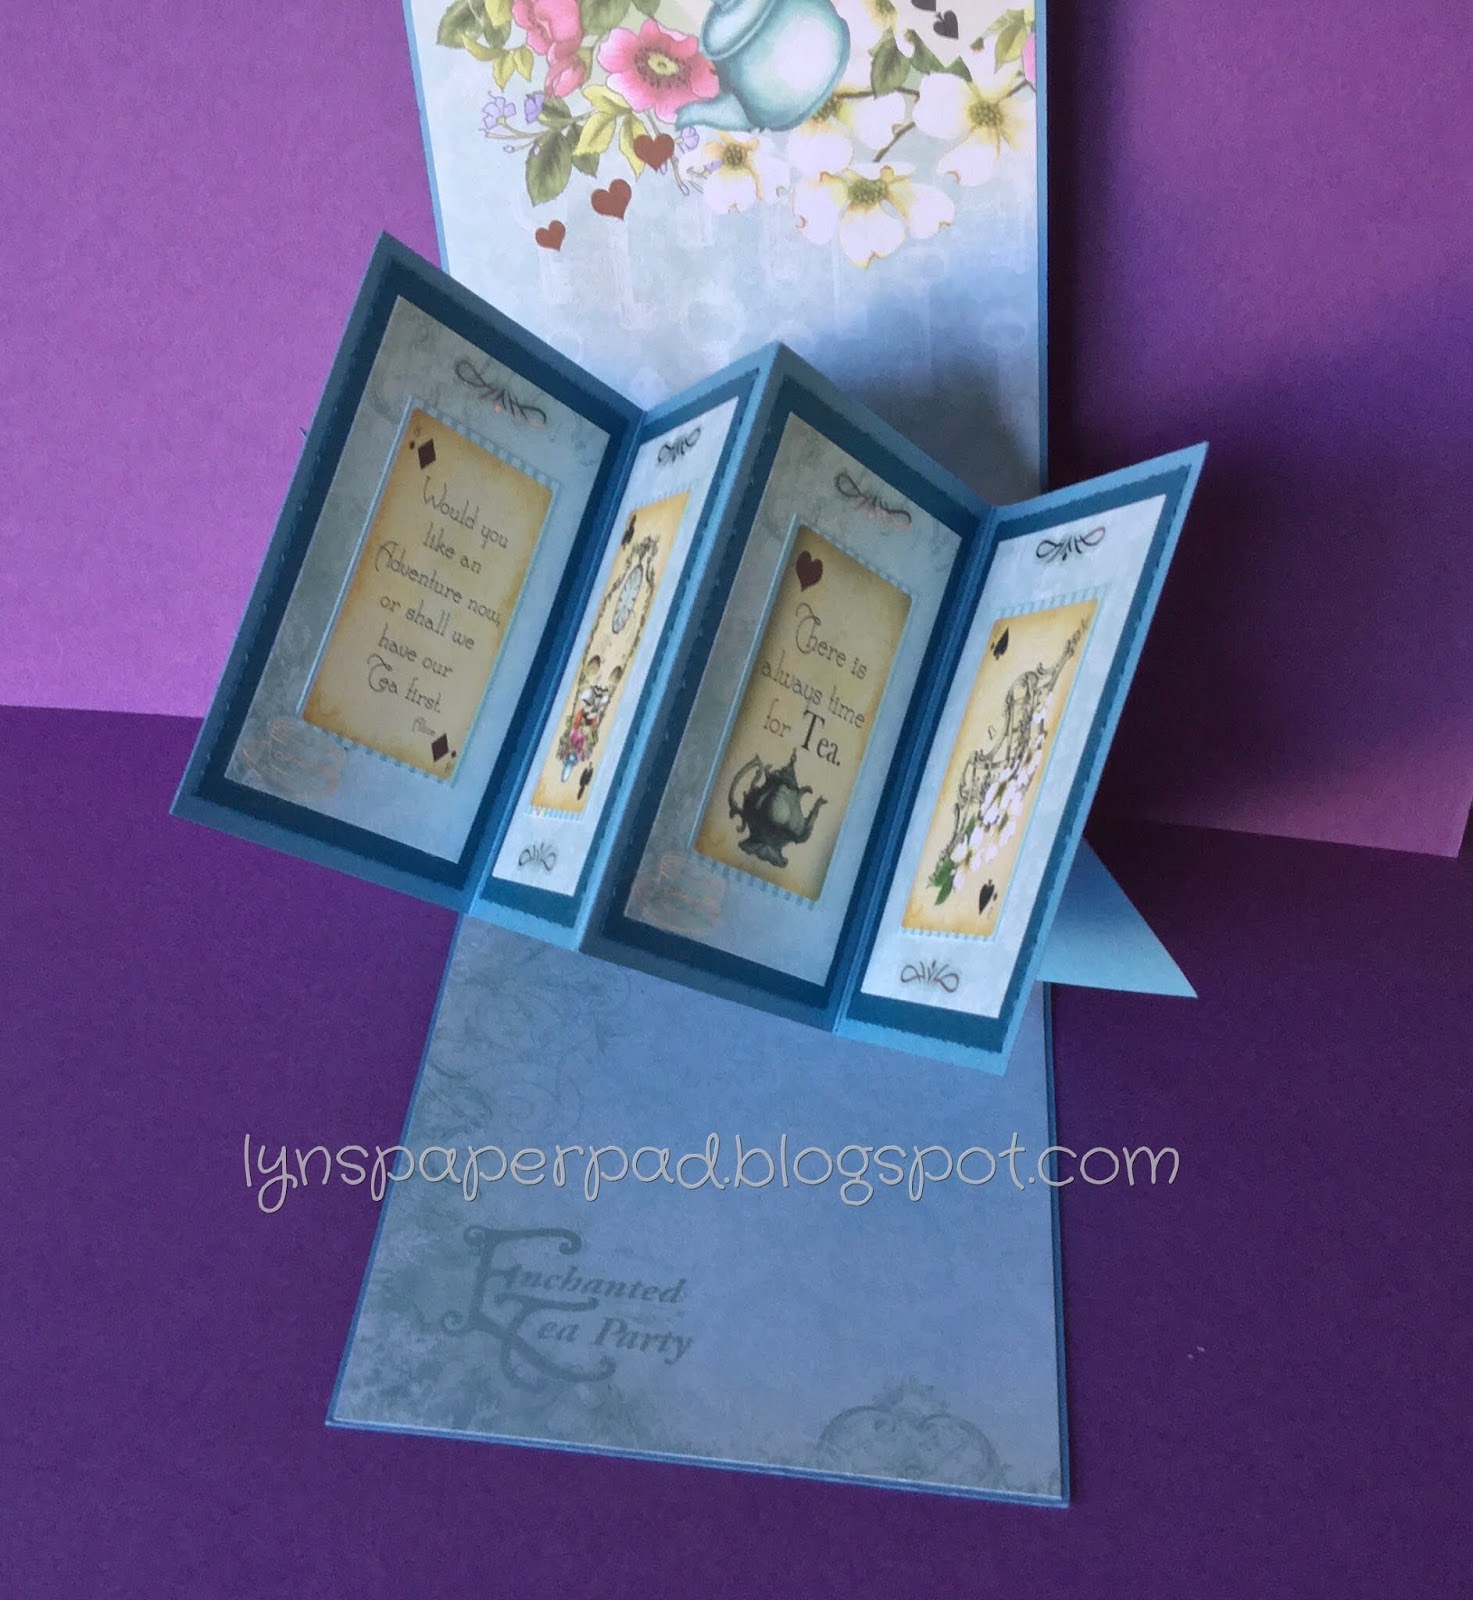
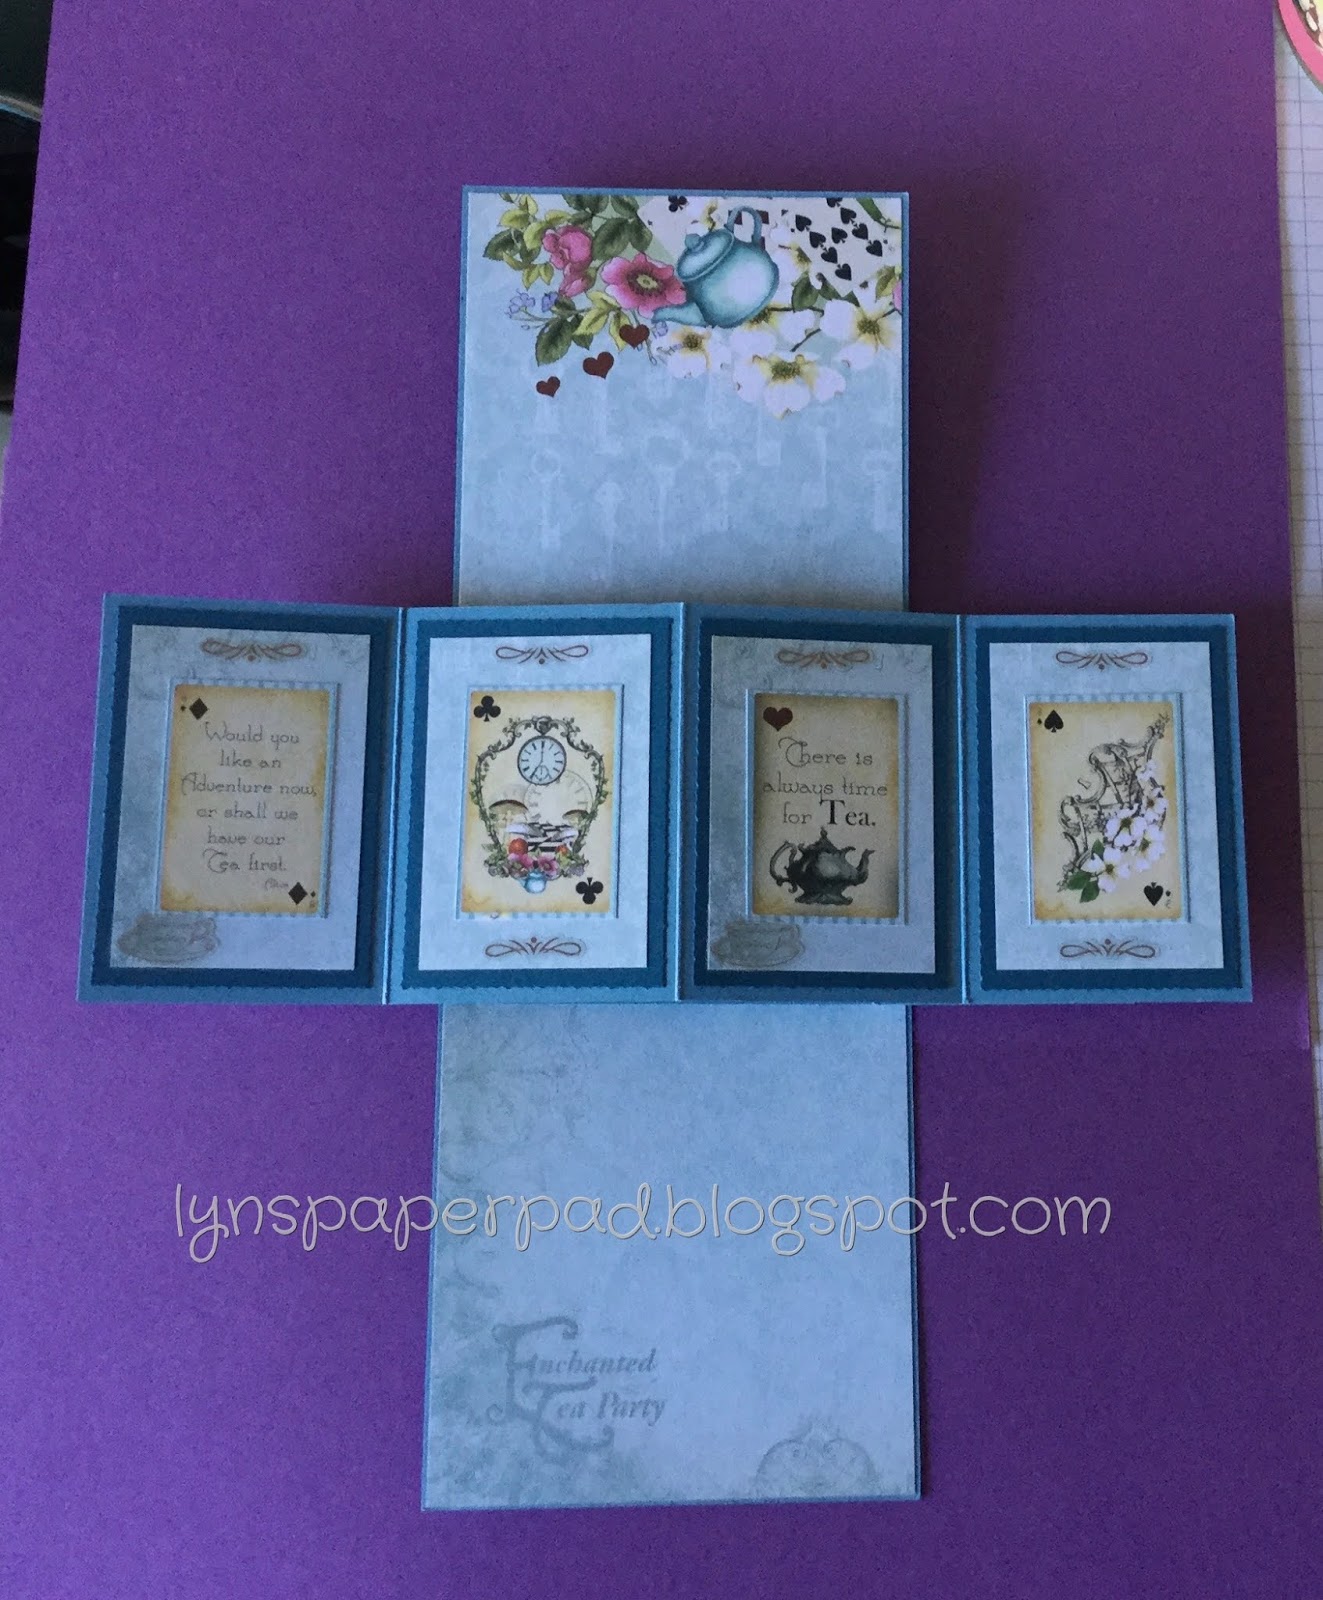
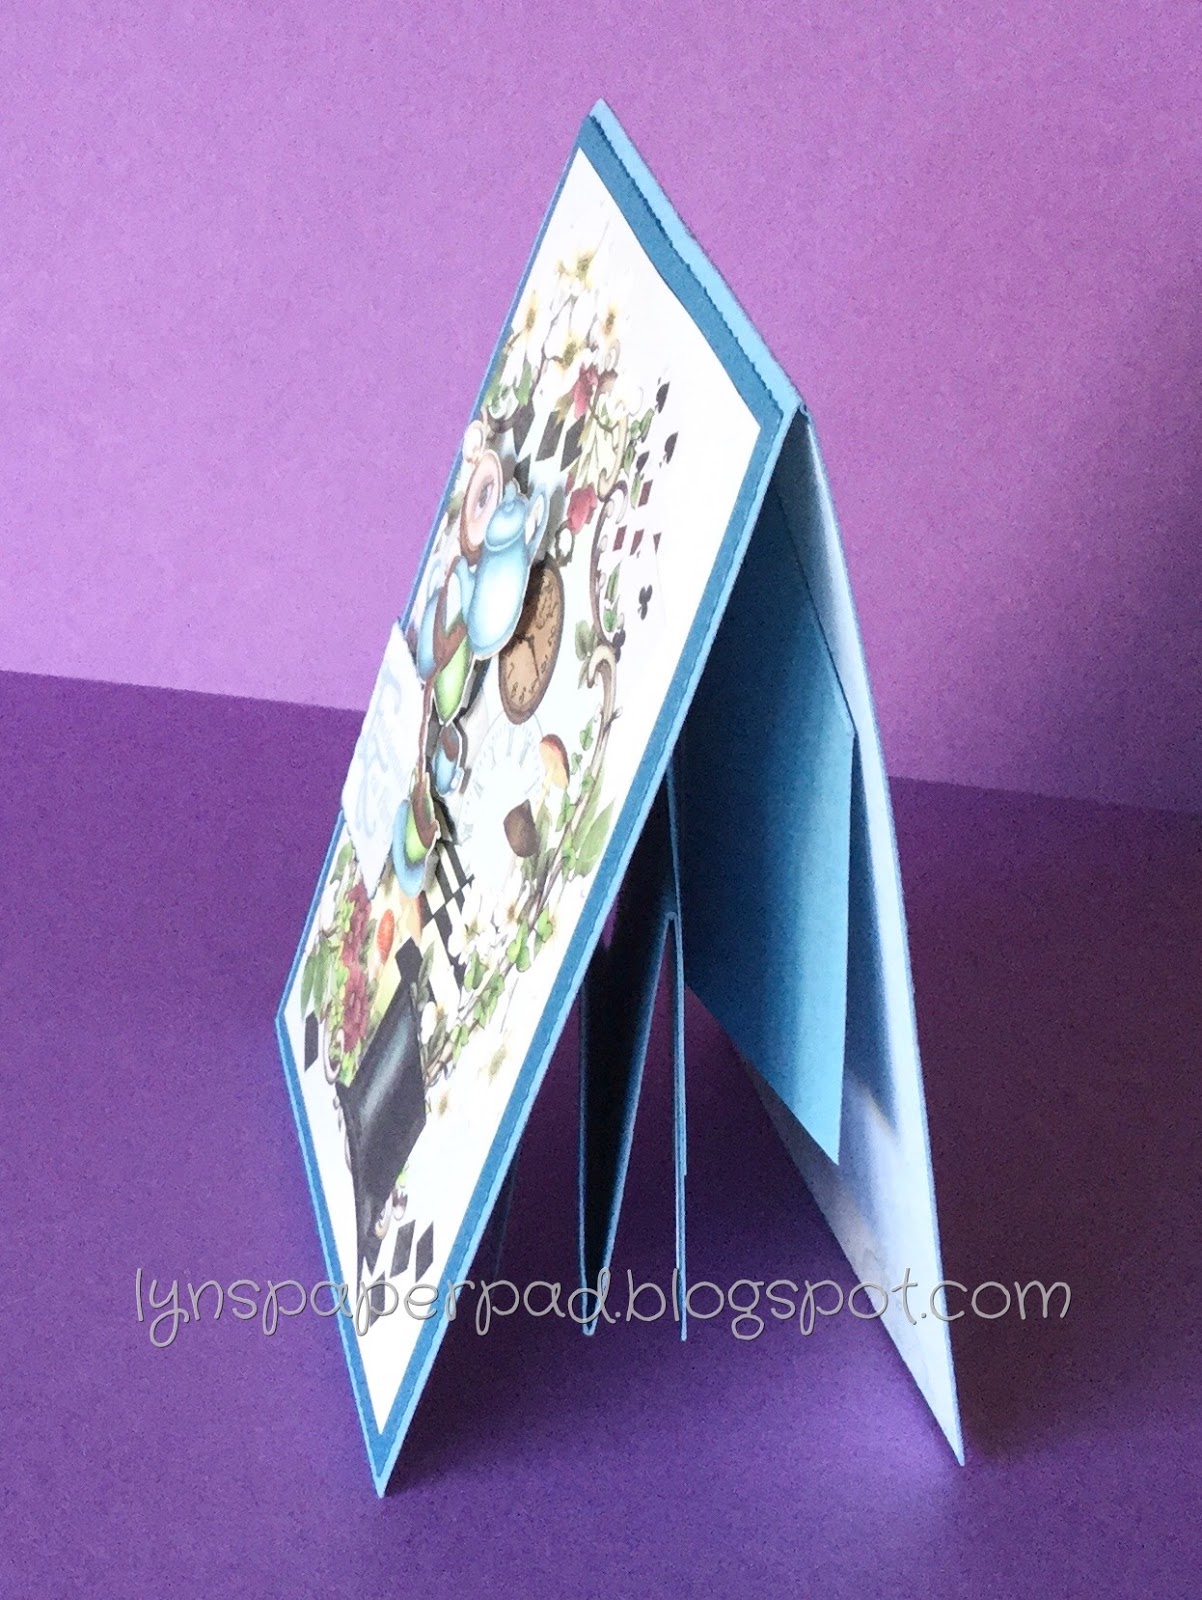
A few flaps and tuck spots 


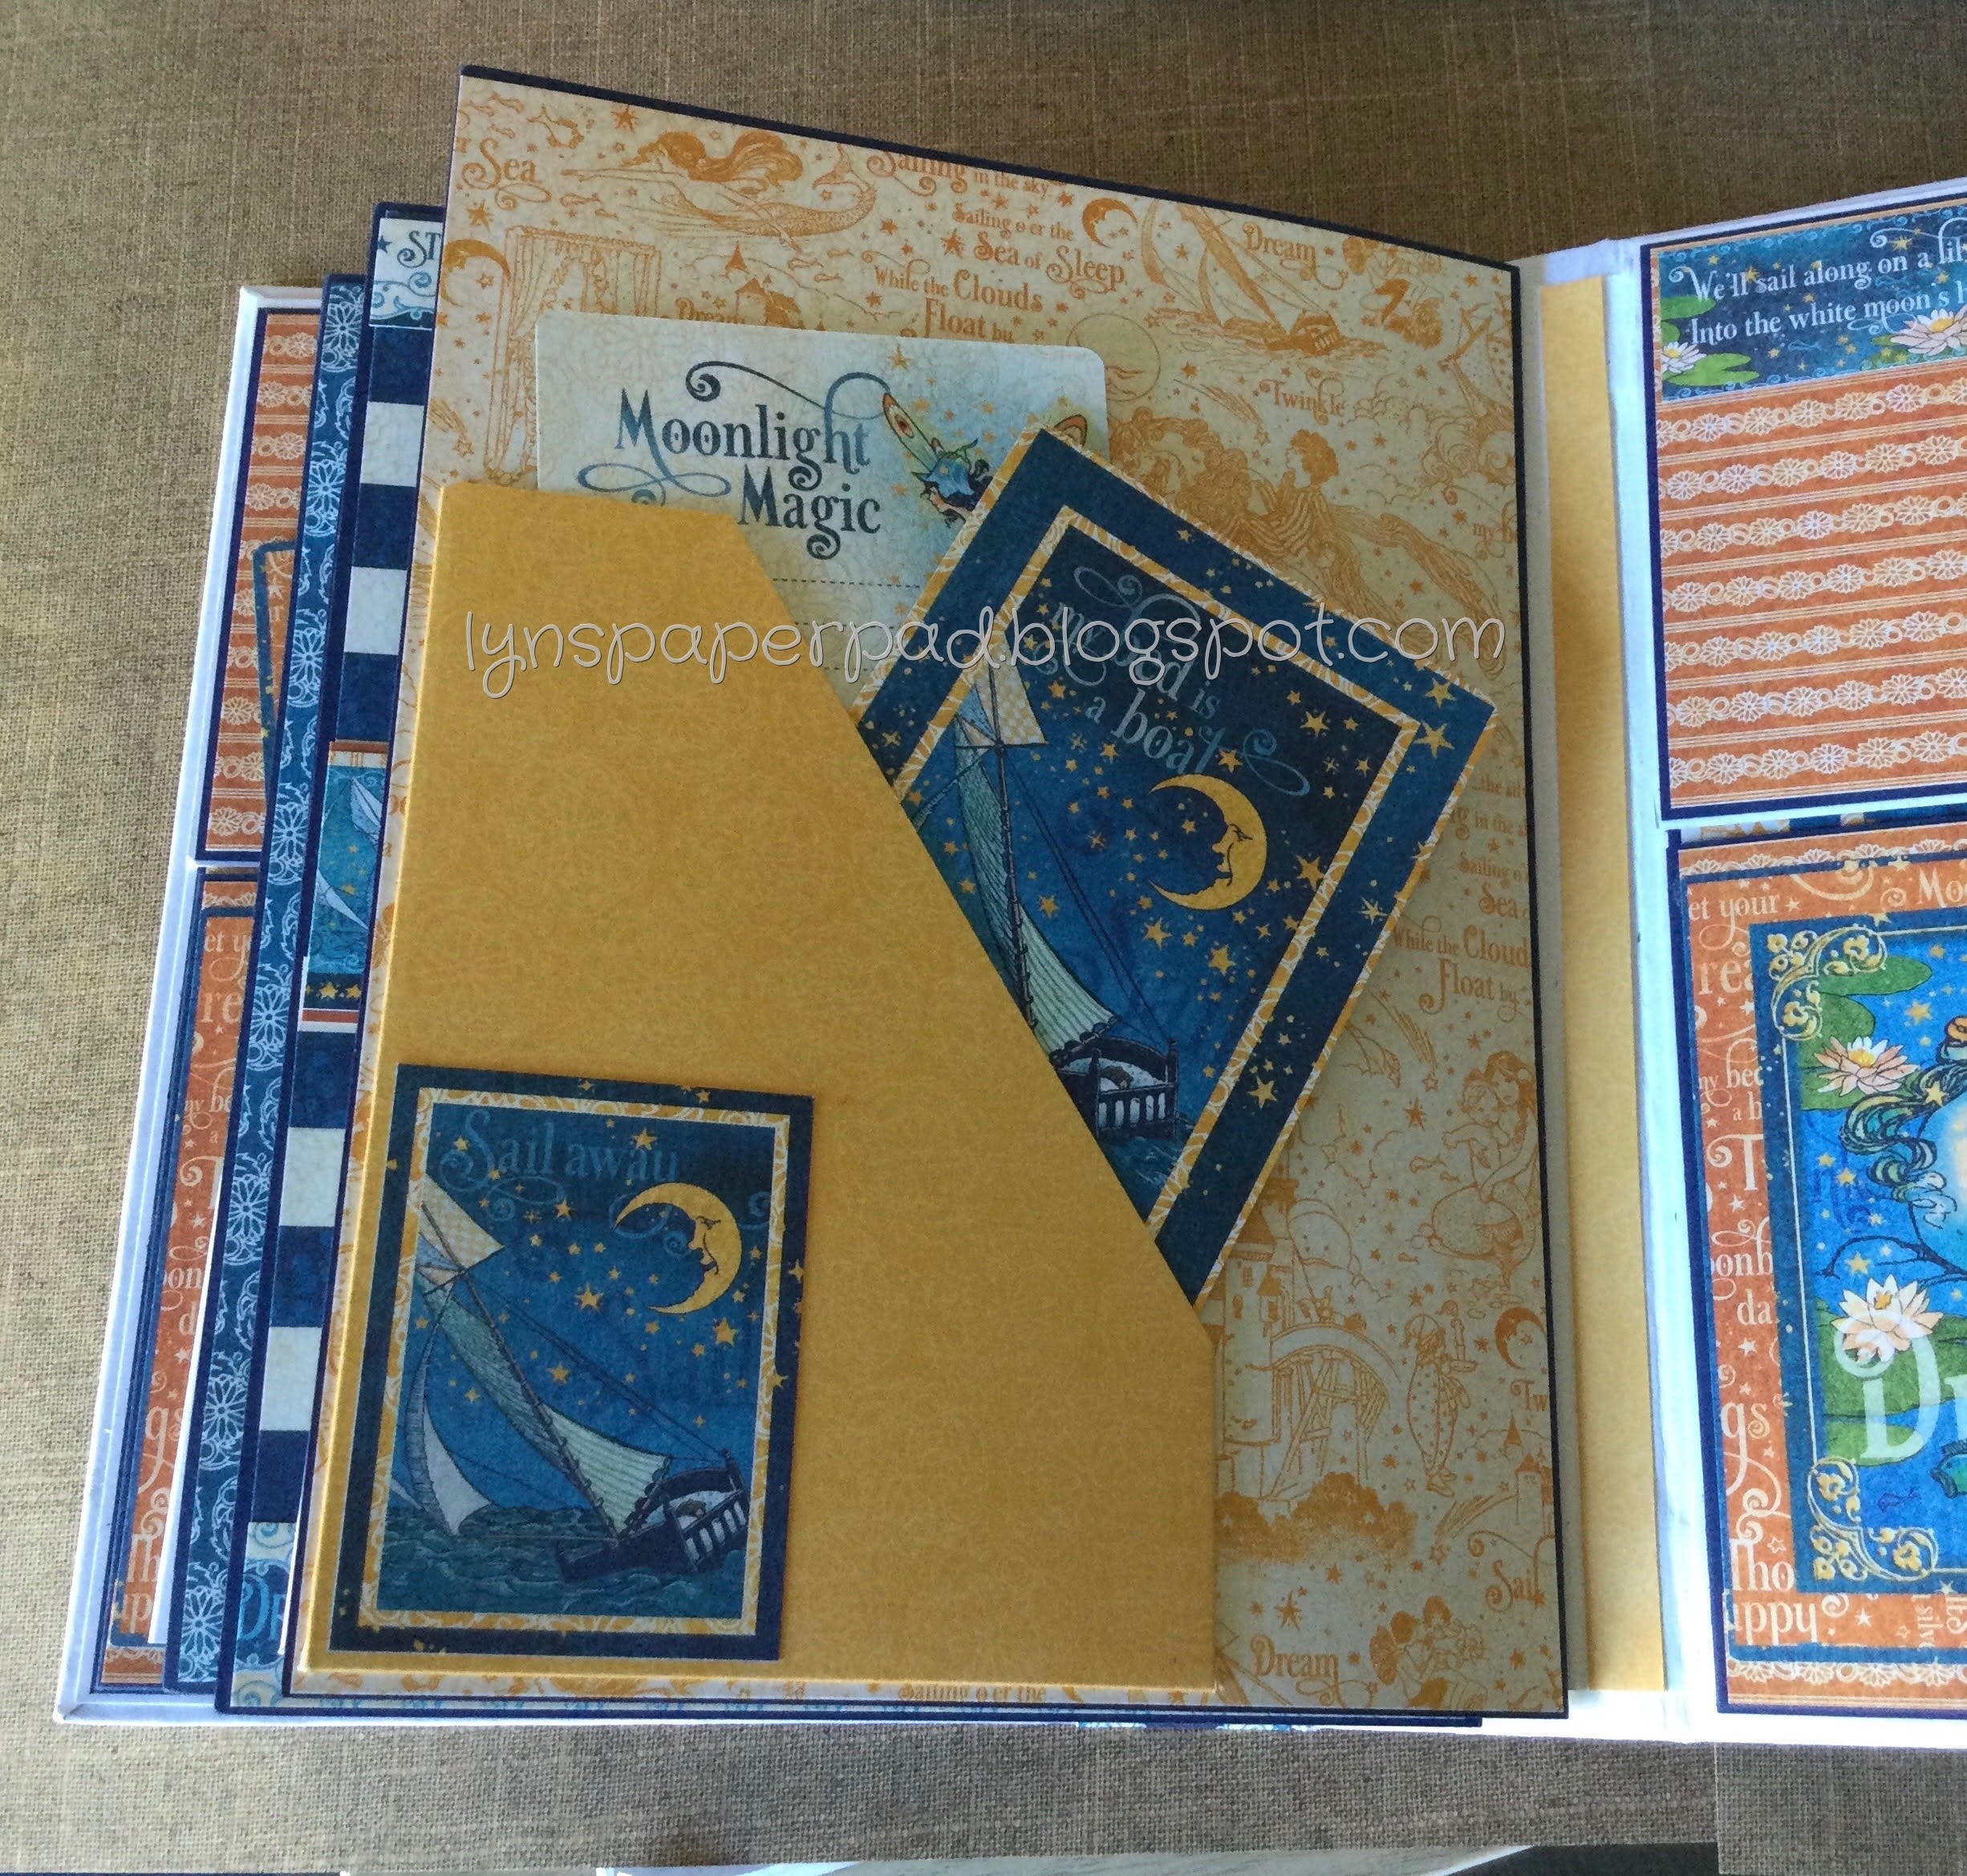
Using ephemera cards in the tuck spots


Using an ephemera card and expanded for extra photos


I duplicated several of the inside journal pages, with the altered smaller size giving a few challenges!

I hope you like this version!?


 http://mysistersscrapper.com/


https://www.youtube.com/c/ScrapNCreateVideos/vide

Wednesday 15 July 2020

Show off both sides of your card!


As new papers become available and we all get tempted to get some more of those beautiful designs, I decided to make some space by using up some of my old paper stash!


This card uses up some double sided retired paper, ‘Whole lot of Lovely,’ which is a nice thick Designer Series Paper from Stampin’ Up! and the way it is cut shows off both sides of your paper.


I ended up doing it twice to see how it looks in different colours.


It opens on a right hinge first and once open it reveals the other side of your Designer Paper!


For the inside flap, I have turned the matching cardstock when die cutting the ends so the stitch detail is visible on the top on both ends of my card.


Supplies
5 1/2” x 7 1/2” DSP scored at 4”
7” x 3 1/2” matching coloured cardstock. Die cut each end.
White or cream cardstock for labels on the front & inside
Flower & leaf stamps. I have used Stampin’ Up! “Painted Seasons” and whatever leaf dies I  had.
A few sequins or diamanté
The sentiment stamps I have used we’re Stampin’ Up! “Pretty Parasol” on the front and Stampin’ Up! “Thoughtful Banners” on the inside.

Thursday 2 July 2020

Pop & Twist Card. Enchanted Tea Party & Best Route


For the first time I have tried this twist & pop card. 
To my surprise it was much easier than I originally thought. My one tip is to be very precise with your measurements and folding! 

As you can see, I enjoyed it so much I ended up making two! 


CARD CUTTING DETAILS
Card Base.
Half sheet A4 Cardstock - cut lengthways & folded in half.
Inside; cut two pieces of designer paper 1/4” smaller than base card to decorate the inside.
TIP draw a light pencil line exactly half way down the length of the inside of the card. This will help you line up the mechanism and don’t forget to erase it once card is complete.   


Central mechanism, I used same colour cardstock for both pieces
Cut Cardstock: cut  8" x 3½"
Score Down The Centre at:  1¾" 
Mark both long sides at: 2¼" and 5¾" and score diagonally as shown


Fold lengthways into a mountain fold. 


Both diagonals are folded opposite into valley folds.

Arrange card into arrow type shape, as shown below.
Burnish all fold lines.
Line up top of mechanism arrow with the pencil line in the centre of the cardbase fold. Line the bottom of the arrow, again onto the central pencil line and where the mechanism has a gap, as shown.
Glue the triangle only. Pull down the top to of card onto the glued mechanism.
Turn the card over, open up and repeat the above glueing process to glue the mechanism to both sides of your base card.


The card mechanism may need opening and shutting a few times to run smoothly at this point! 


Cut Cardstock panel strip; 10" x 3½"
Score at 2½",  5"  and  7½" fold and burnish score lines. Fold the centre as a mountain fold and two outer folds as valley folds.
Fold two outer pieces in like a book and line up onto your mechanism, matching the centre of this panel with your pencil line.


Glue left side bottom square and right side top square of the mechanism. Fold out your centre panels to glue down. Central mechanism is now complete. Again open and close a few times to help it run smoothly.


For the inside your panel strip.
Cut four panel darker cardstock pieces at 3⅜" x 2⅜
Cut four panels of coordinating paper 3¼" x 2¼"
Decorate the panels and the front of the card base to complete your card.