
To my surprise it was much easier than I originally thought. My one tip is to be very precise with your measurements and folding!
As you can see, I enjoyed it so much I ended up making two!

Card Base.
Half sheet A4 Cardstock - cut lengthways & folded in half.
Inside; cut two pieces of designer paper 1/4” smaller than base card to decorate the inside.
TIP draw a light pencil line exactly half way down the length of the inside of the card. This will help you line up the mechanism and don’t forget to erase it once card is complete.

Central mechanism, I used same colour cardstock for both pieces
Cut Cardstock: cut 8" x 3½"
Cut Cardstock: cut 8" x 3½"
Score Down The Centre at: 1¾"
Mark both long sides at: 2¼" and 5¾" and score diagonally as shown

Fold lengthways into a mountain fold.

Mark both long sides at: 2¼" and 5¾" and score diagonally as shown

Fold lengthways into a mountain fold.

Both diagonals are folded opposite into valley folds.
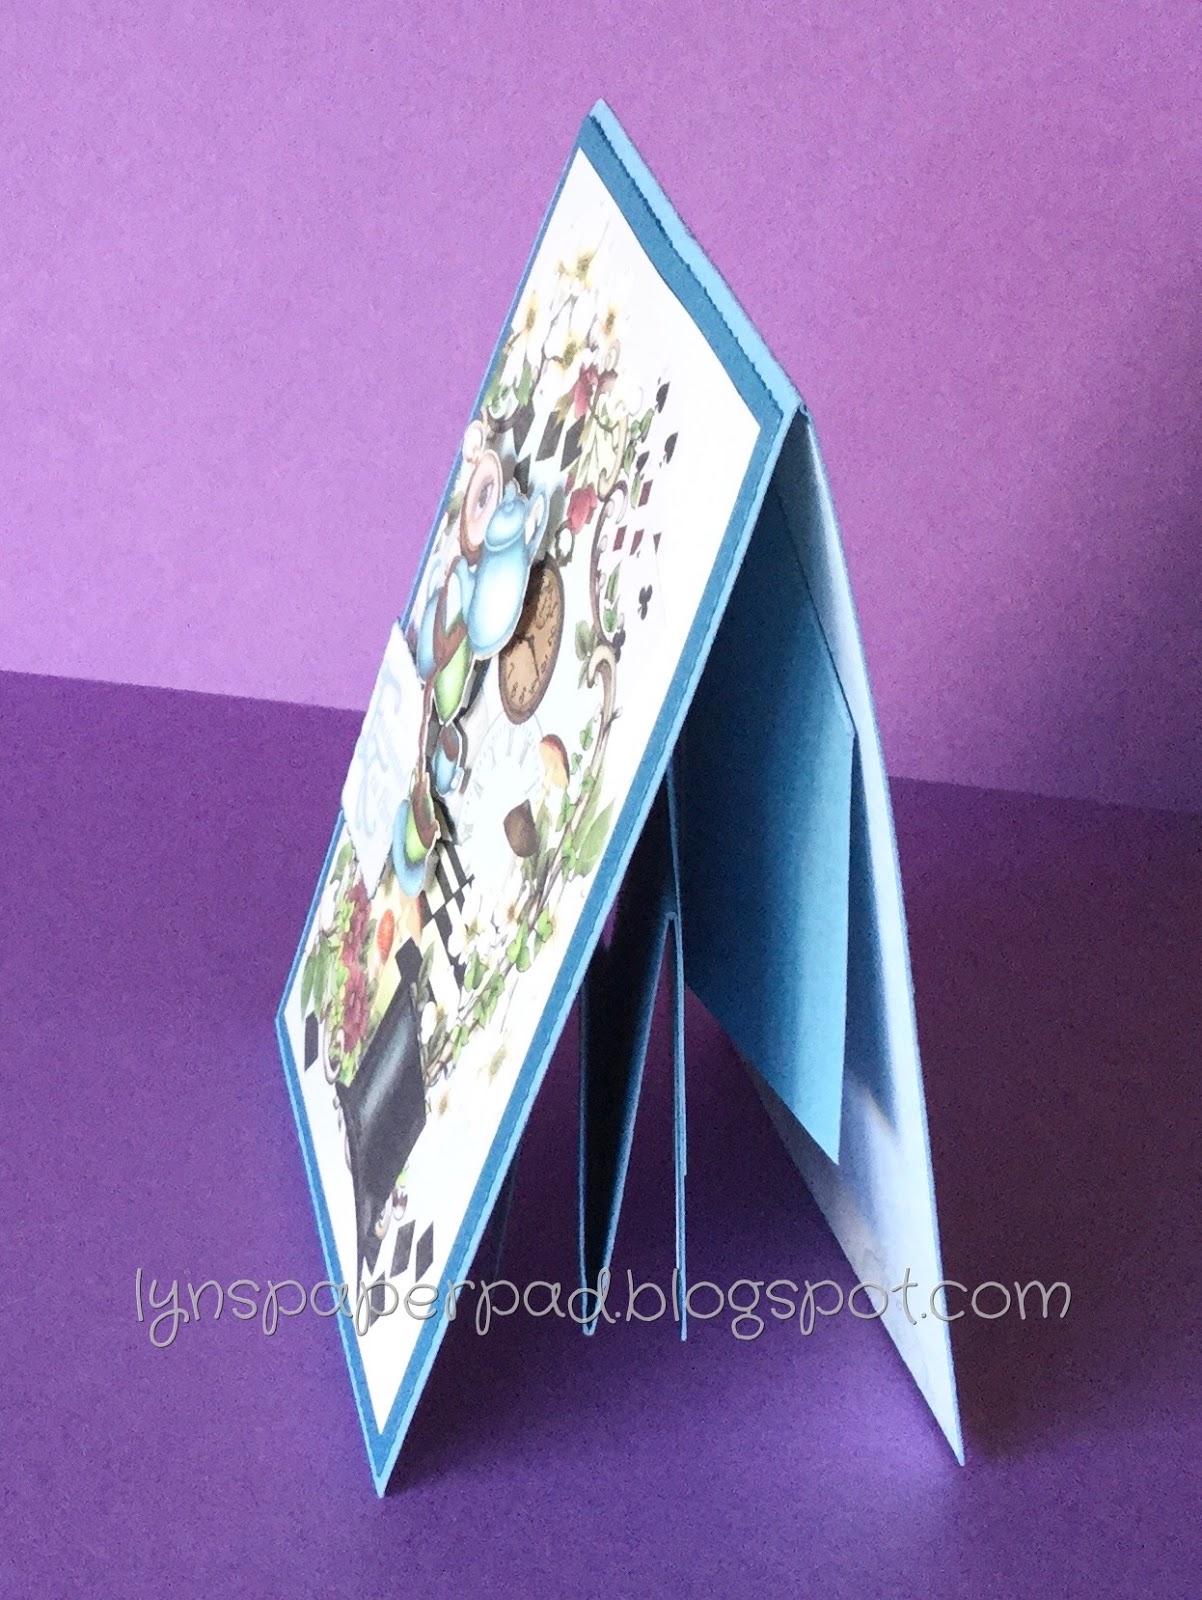
 Arrange card into arrow type shape, as shown below.
Burnish all fold lines.
Line up top of mechanism arrow with the pencil line in the centre of the cardbase fold. Line the bottom of the arrow, again onto the central pencil line and where the mechanism has a gap, as shown.
Glue the triangle only. Pull down the top to of card onto the glued mechanism.
Turn the card over, open up and repeat the above glueing process to glue the mechanism to both sides of your base card.

The card mechanism may need opening and shutting a few times to run smoothly at this point!

Cut Cardstock panel strip; 10" x 3½"

Burnish all fold lines.
Line up top of mechanism arrow with the pencil line in the centre of the cardbase fold. Line the bottom of the arrow, again onto the central pencil line and where the mechanism has a gap, as shown.
Glue the triangle only. Pull down the top to of card onto the glued mechanism.
Turn the card over, open up and repeat the above glueing process to glue the mechanism to both sides of your base card.


Cut Cardstock panel strip; 10" x 3½"
Score at 2½", 5" and 7½" fold and burnish score lines. Fold the centre as a mountain fold and two outer folds as valley folds.
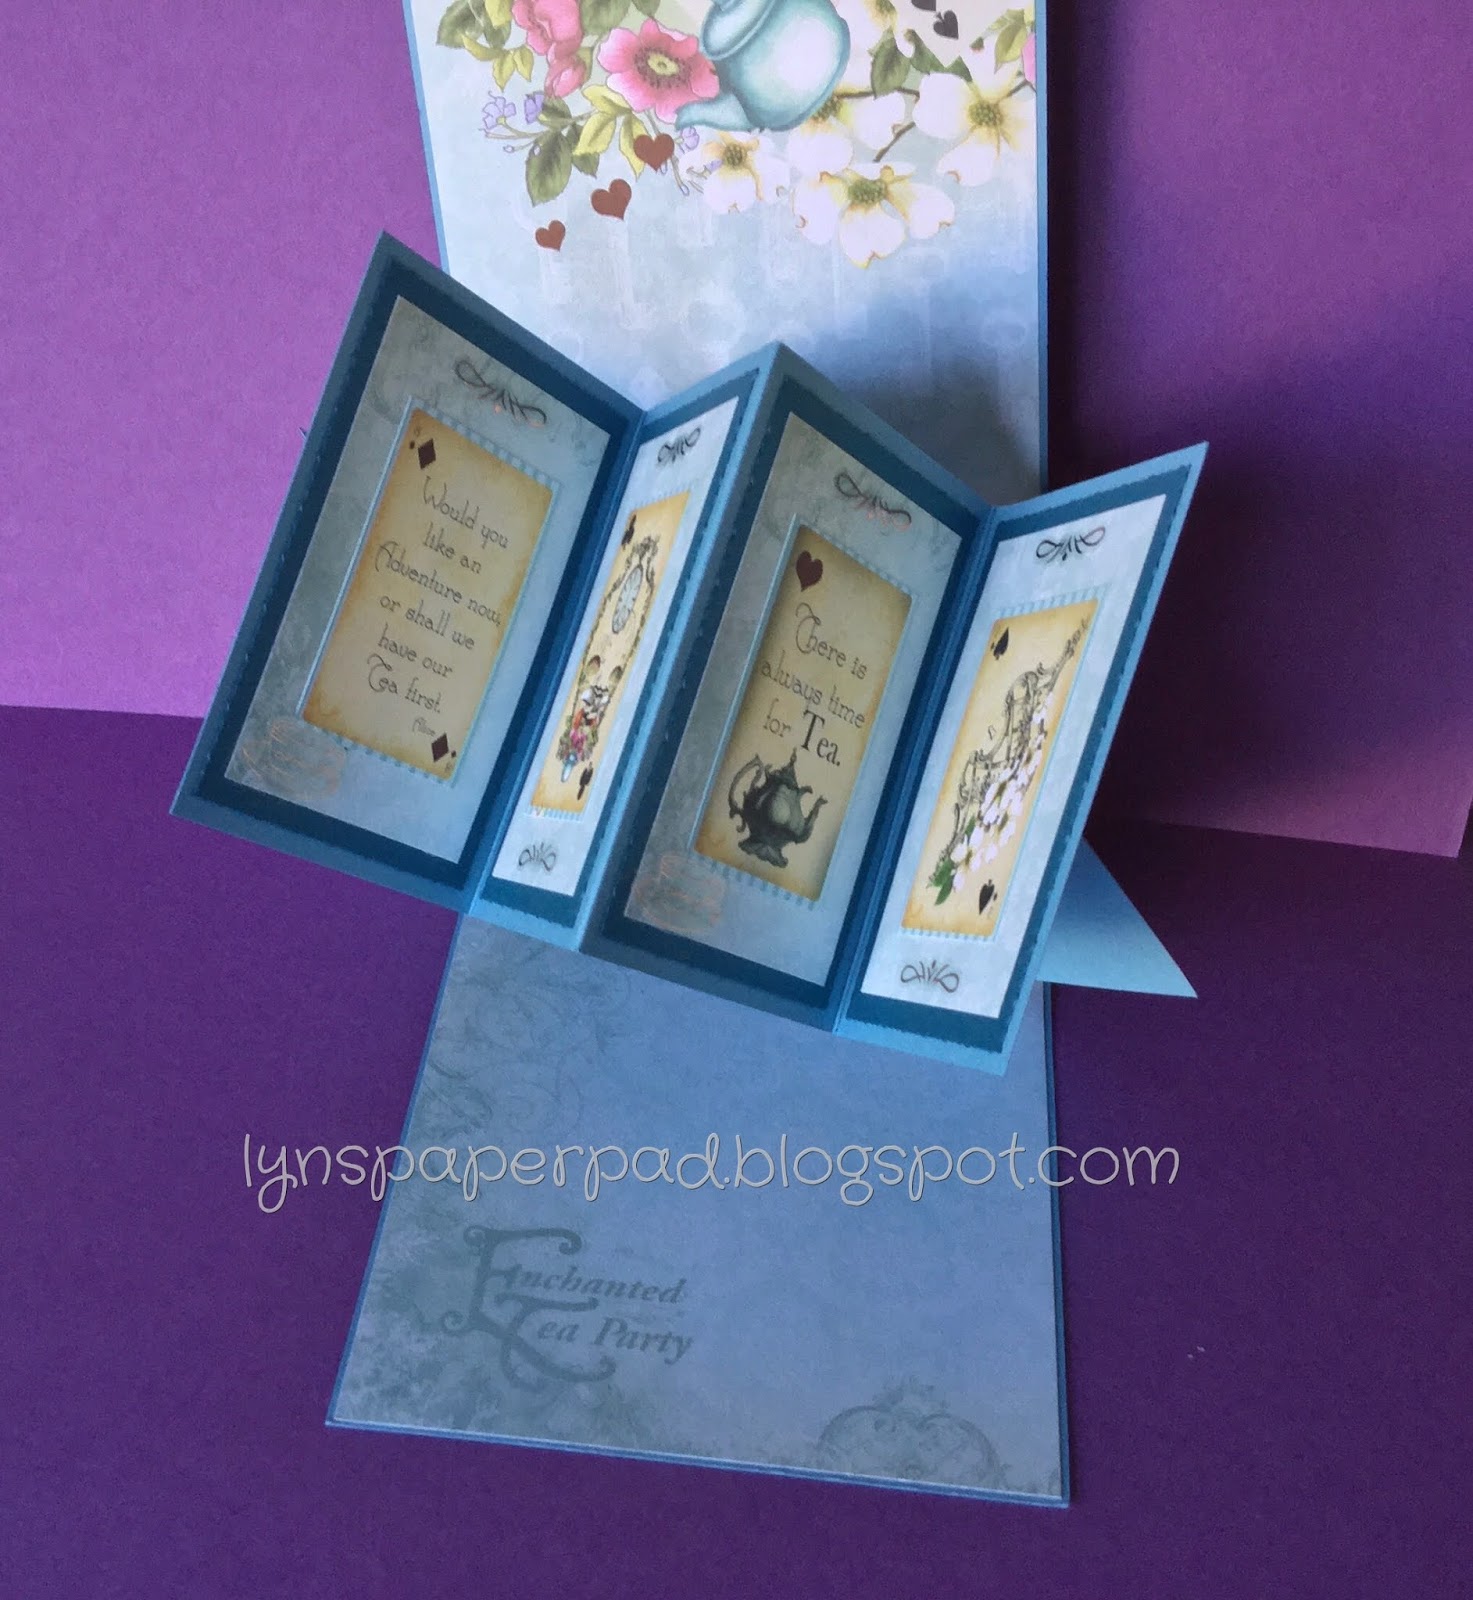
Fold two outer pieces in like a book and line up onto your mechanism, matching the centre of this panel with your pencil line.
Fold two outer pieces in like a book and line up onto your mechanism, matching the centre of this panel with your pencil line.


For the inside your panel strip.
Cut four panel darker cardstock pieces at 3⅜" x 2⅜
Cut four panels of coordinating paper 3¼" x 2¼"
Cut four panel darker cardstock pieces at 3⅜" x 2⅜
Cut four panels of coordinating paper 3¼" x 2¼"

Decorate the panels and the front of the card base to complete your card.
No comments:
Post a Comment