Search This Blog

Wednesday, 15 July 2020

Show off both sides of your card!


As new papers become available and we all get tempted to get some more of those beautiful designs, I decided to make some space by using up some of my old paper stash!


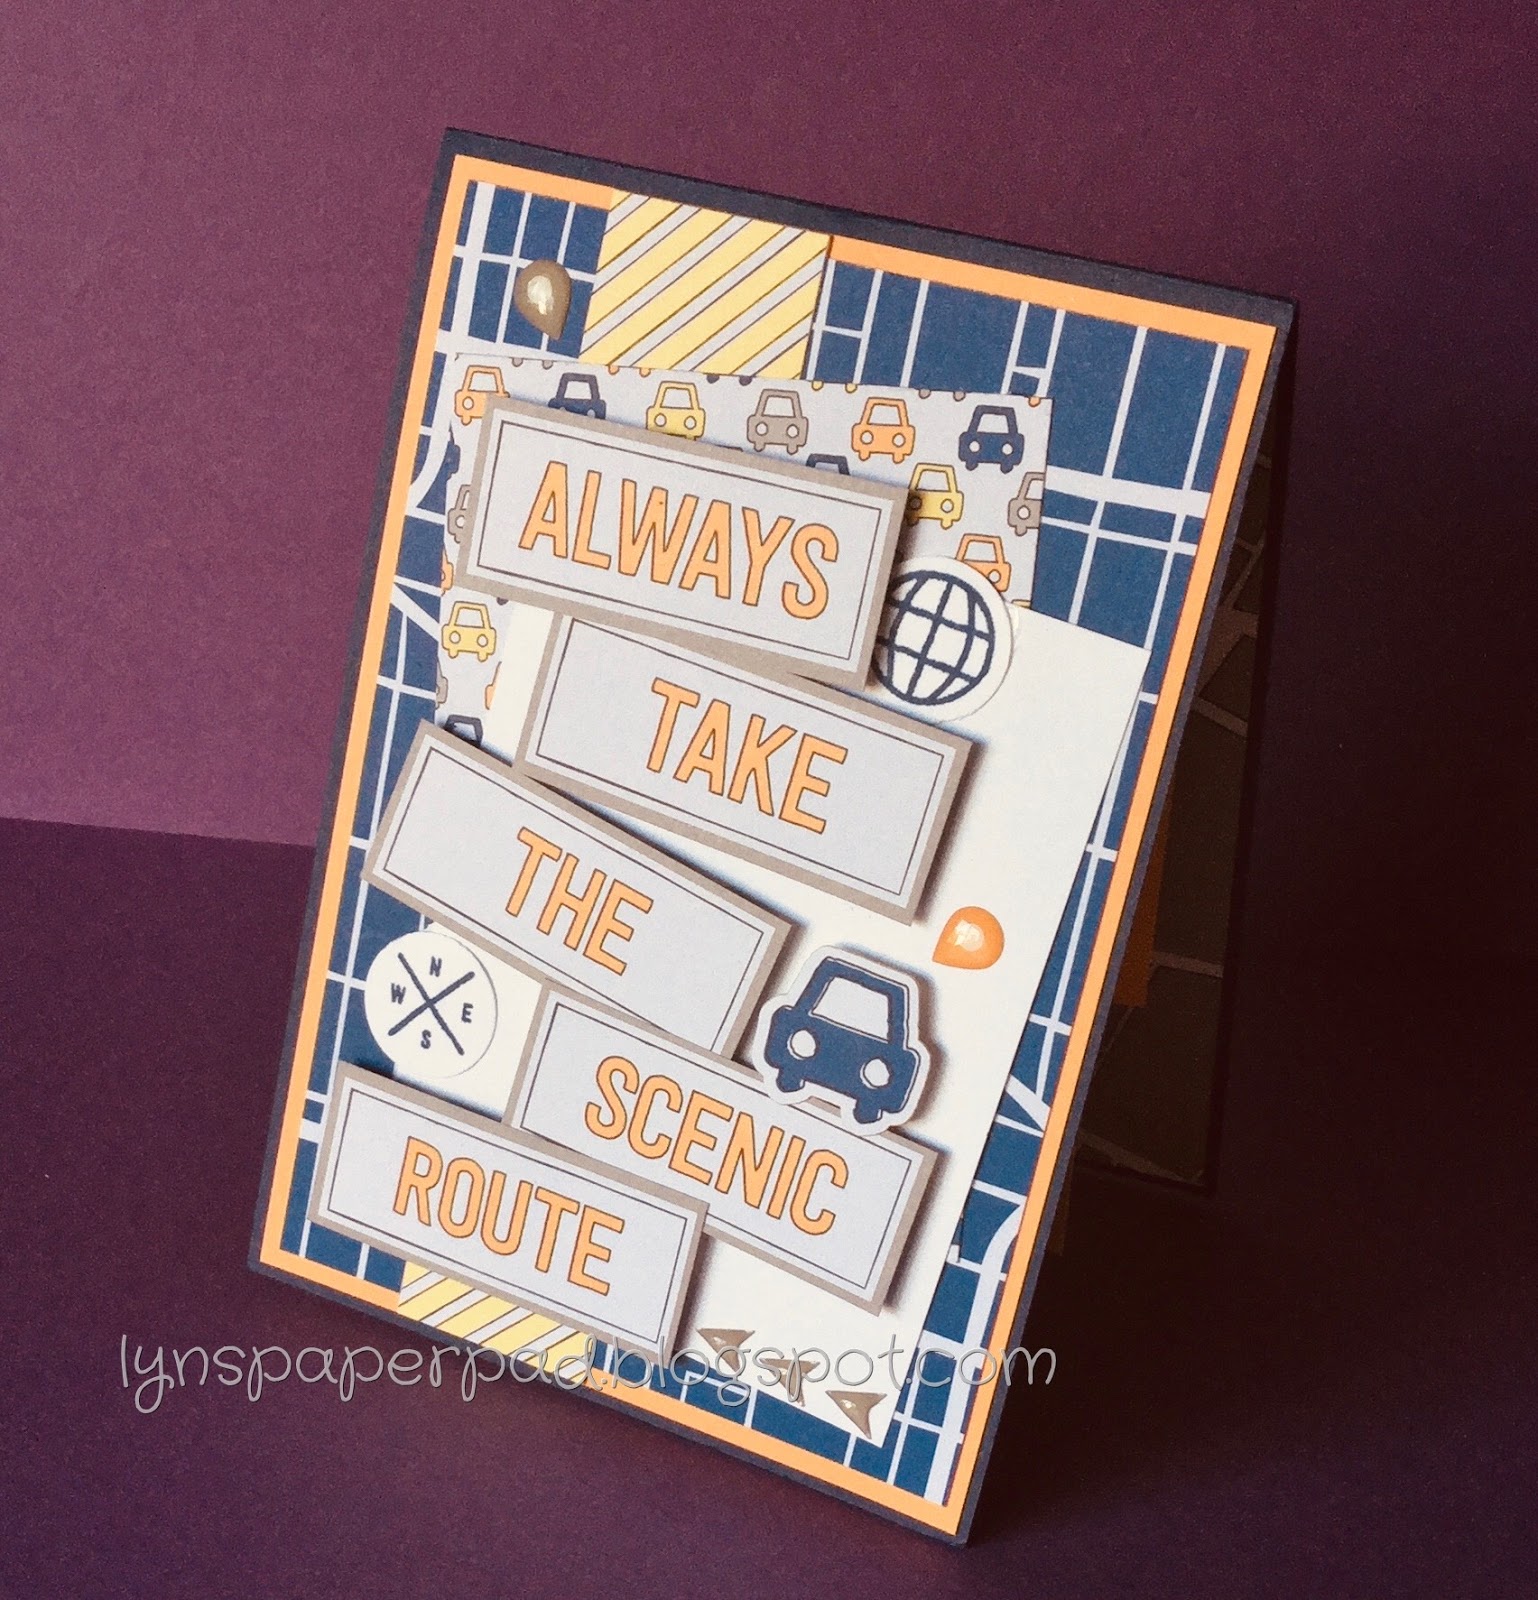
This card uses up some double sided retired paper, ‘Whole lot of Lovely,’ which is a nice thick Designer Series Paper from Stampin’ Up! and the way it is cut shows off both sides of your paper.


I ended up doing it twice to see how it looks in different colours.


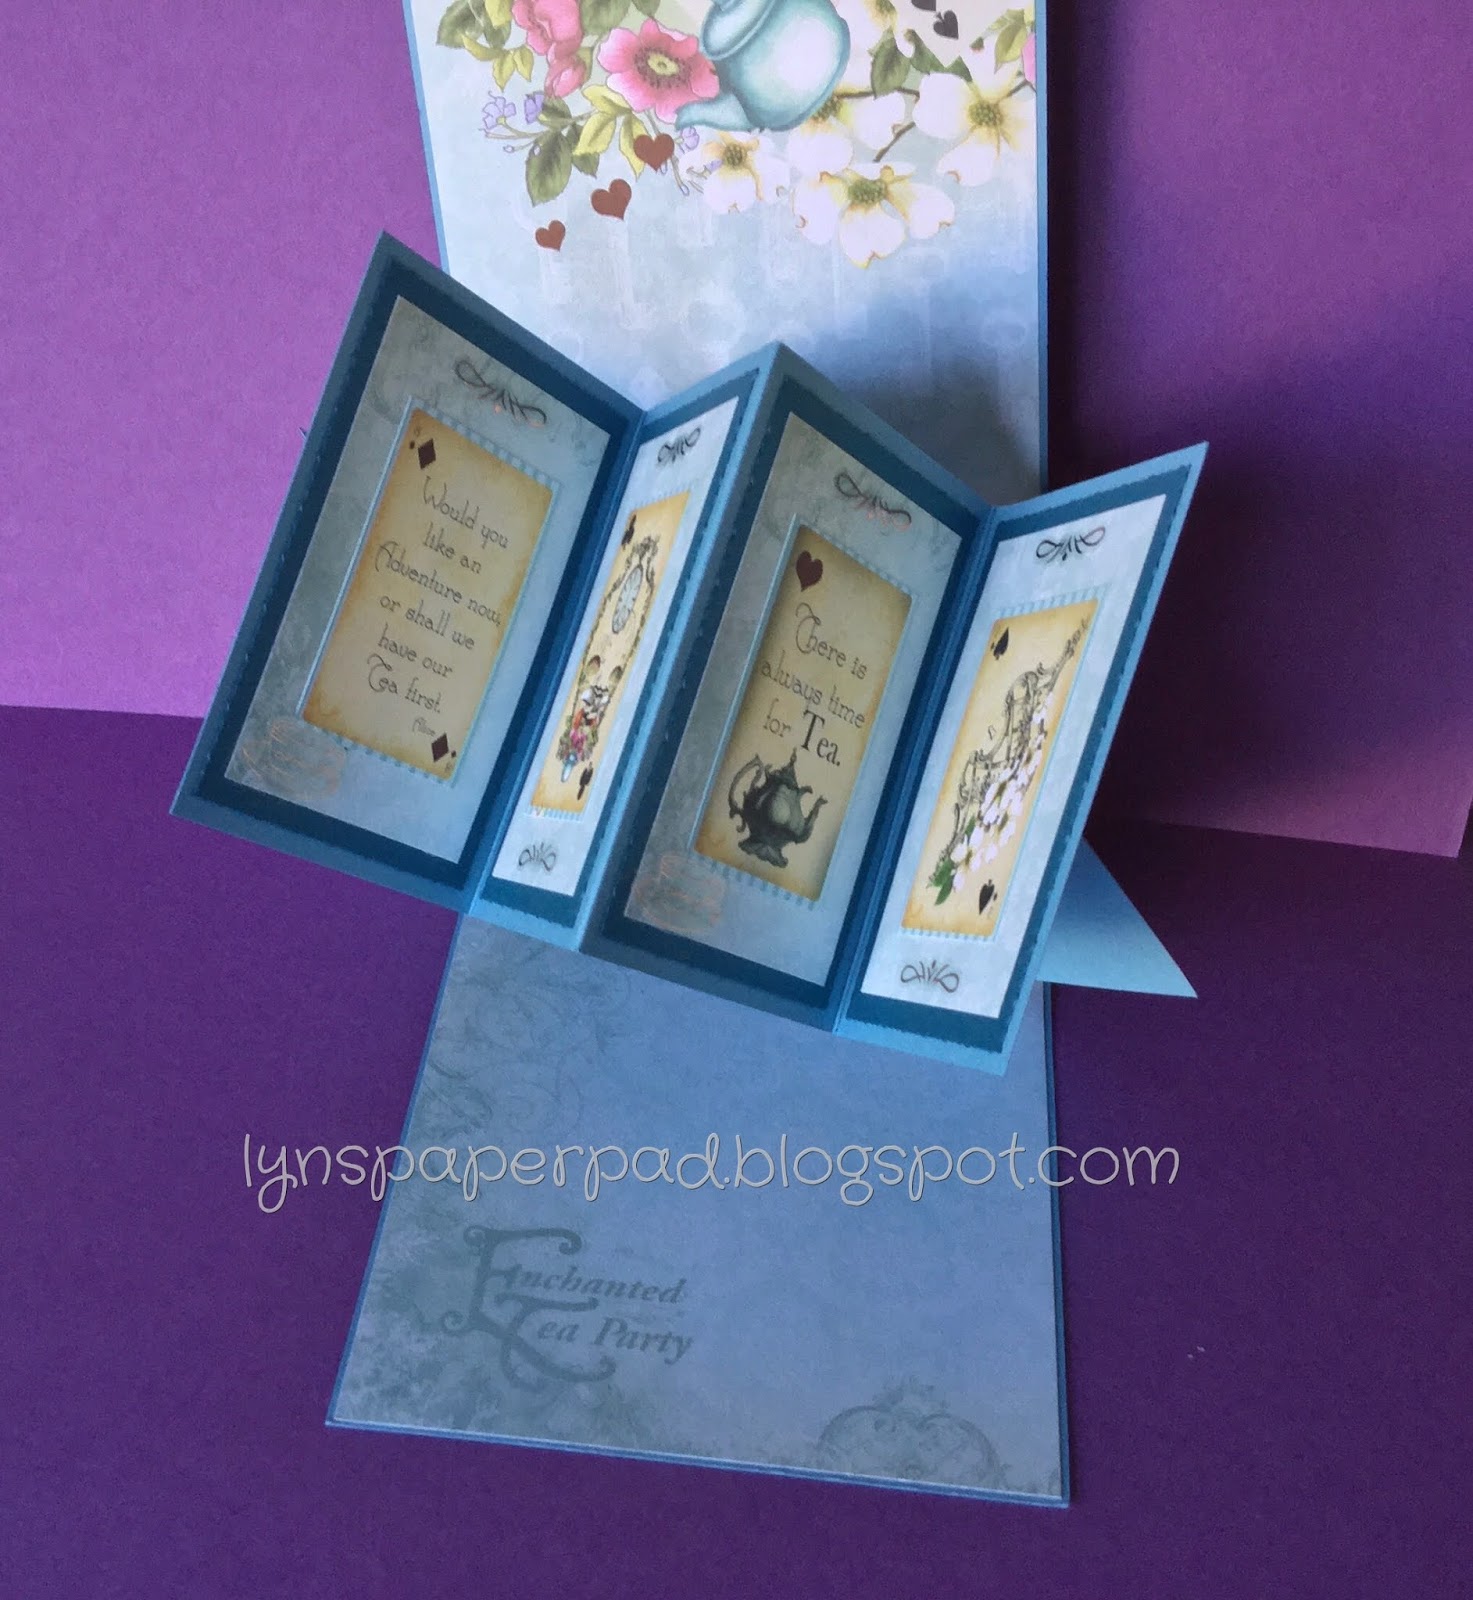
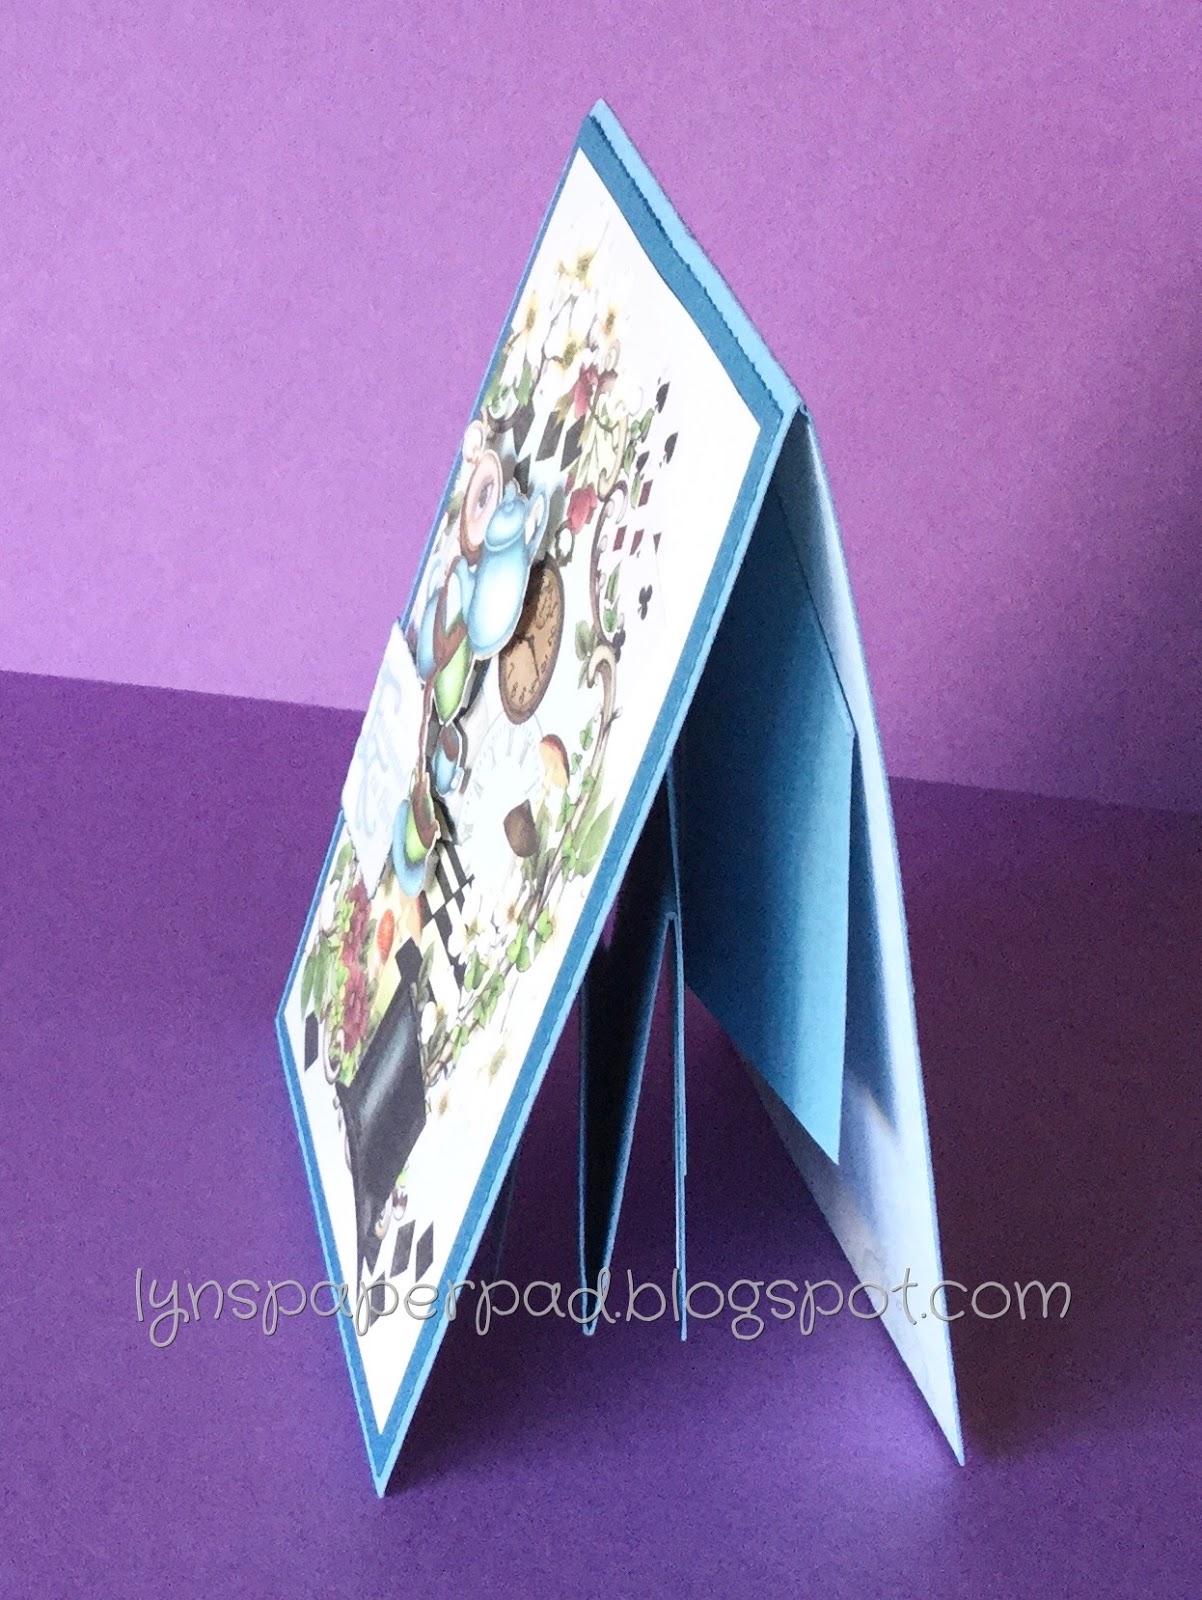
It opens on a right hinge first and once open it reveals the other side of your Designer Paper!


For the inside flap, I have turned the matching cardstock when die cutting the ends so the stitch detail is visible on the top on both ends of my card.


Supplies
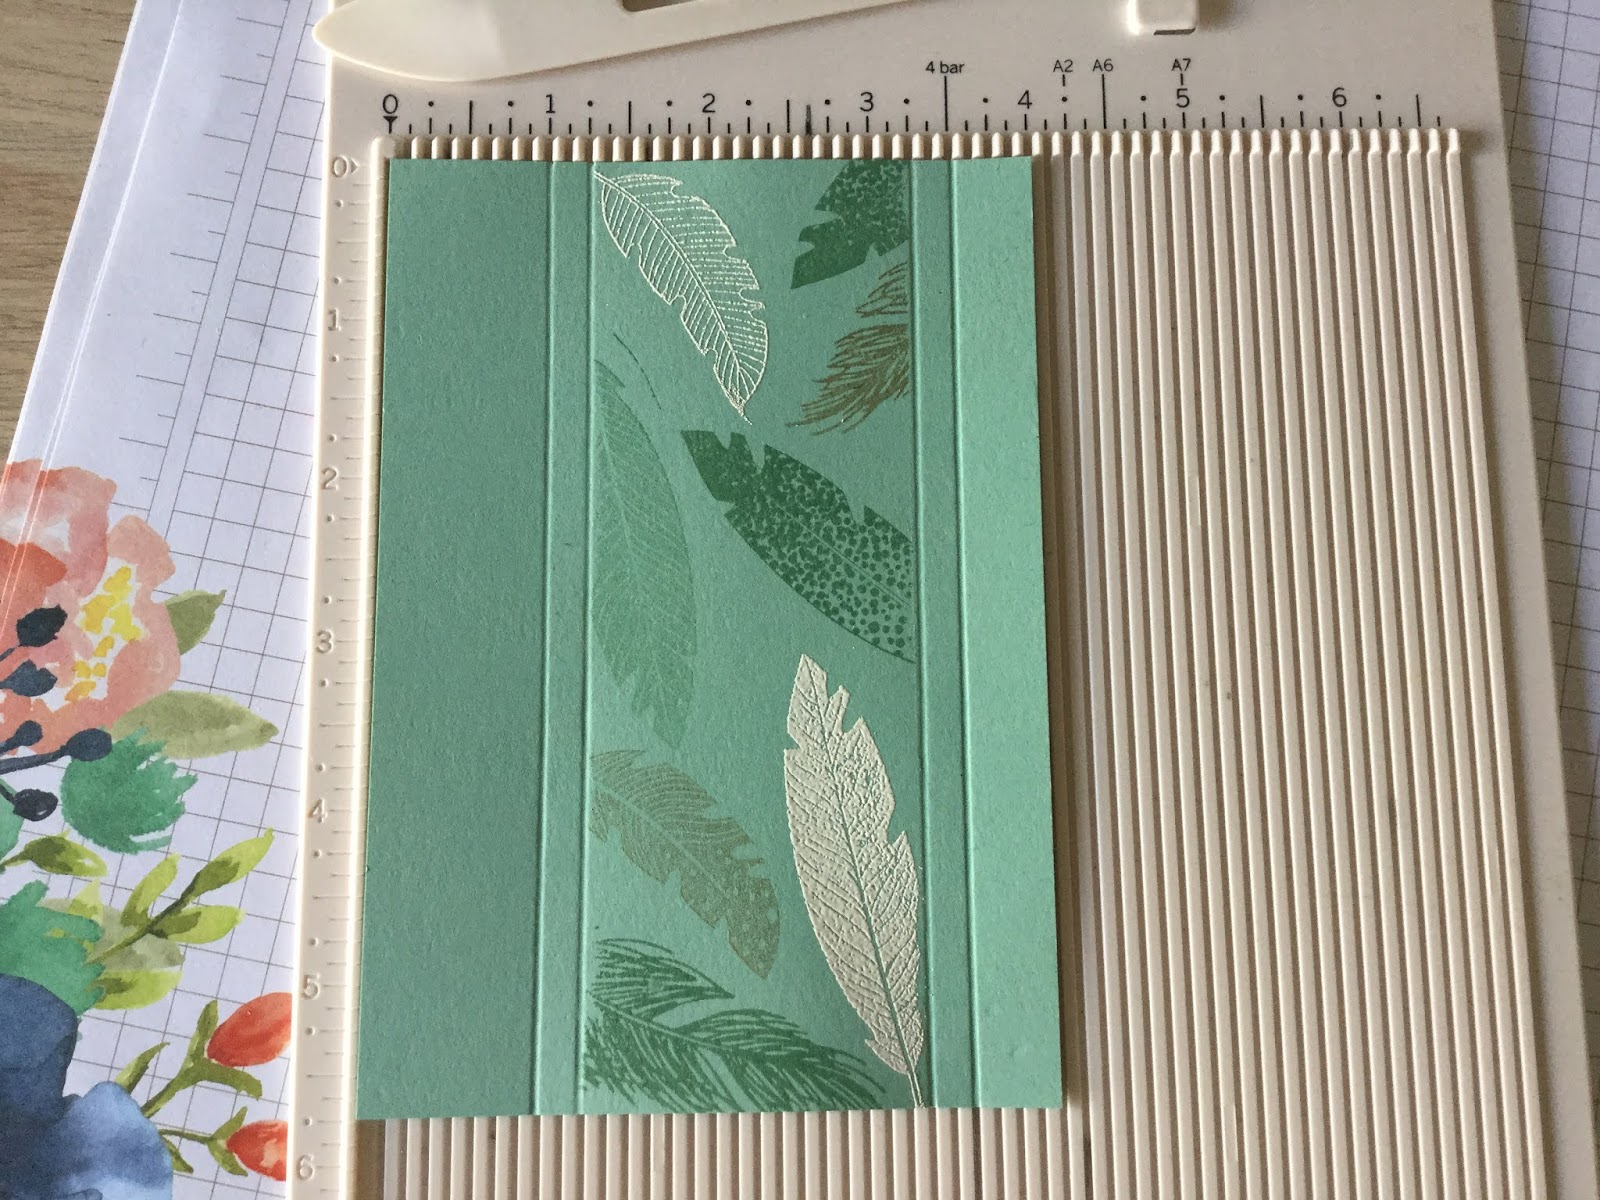
5 1/2” x 7 1/2” DSP scored at 4”
7” x 3 1/2” matching coloured cardstock. Die cut each end.
White or cream cardstock for labels on the front & inside
Flower & leaf stamps. I have used Stampin’ Up! “Painted Seasons” and whatever leaf dies I  had.
A few sequins or diamanté
The sentiment stamps I have used we’re Stampin’ Up! “Pretty Parasol” on the front and Stampin’ Up! “Thoughtful Banners” on the inside.

Thursday, 2 July 2020

Pop & Twist Card. Enchanted Tea Party & Best Route


For the first time I have tried this twist & pop card. 
To my surprise it was much easier than I originally thought. My one tip is to be very precise with your measurements and folding! 

As you can see, I enjoyed it so much I ended up making two! 


CARD CUTTING DETAILS
Card Base.
Half sheet A4 Cardstock - cut lengthways & folded in half.
Inside; cut two pieces of designer paper 1/4” smaller than base card to decorate the inside.
TIP draw a light pencil line exactly half way down the length of the inside of the card. This will help you line up the mechanism and don’t forget to erase it once card is complete.   


Central mechanism, I used same colour cardstock for both pieces
Cut Cardstock: cut  8" x 3½"
Score Down The Centre at:  1¾" 
Mark both long sides at: 2¼" and 5¾" and score diagonally as shown


Fold lengthways into a mountain fold. 


Both diagonals are folded opposite into valley folds.

Arrange card into arrow type shape, as shown below.
Burnish all fold lines.
Line up top of mechanism arrow with the pencil line in the centre of the cardbase fold. Line the bottom of the arrow, again onto the central pencil line and where the mechanism has a gap, as shown.
Glue the triangle only. Pull down the top to of card onto the glued mechanism.
Turn the card over, open up and repeat the above glueing process to glue the mechanism to both sides of your base card.


The card mechanism may need opening and shutting a few times to run smoothly at this point! 


Cut Cardstock panel strip; 10" x 3½"
Score at 2½",  5"  and  7½" fold and burnish score lines. Fold the centre as a mountain fold and two outer folds as valley folds.
Fold two outer pieces in like a book and line up onto your mechanism, matching the centre of this panel with your pencil line.


Glue left side bottom square and right side top square of the mechanism. Fold out your centre panels to glue down. Central mechanism is now complete. Again open and close a few times to help it run smoothly.


For the inside your panel strip.
Cut four panel darker cardstock pieces at 3⅜" x 2⅜
Cut four panels of coordinating paper 3¼" x 2¼"
Decorate the panels and the front of the card base to complete your card.

Monday, 4 May 2020

30 Day Challenge - Day Thirty. Four Feathers with foils.


It has certainly taken me a little longer than 30 days to complete this challenge, but today is the final day! 


On this card I have used a couple of techniques that I really like doing. 
After masking off a centre section of the Stampin’ Up Mint Macaron card, I have stamped various feathers and heat embossed a few images, before removing the mask. 
At the same time I have stamped two different feather images with Mint Macaron on white cardstock for later use.


Using a score board, score twice either side of the stamped image. Between the score lines, add some double sided tape. Cut  a thin strip from some silver foil material, removing the backing paper from the tape, apply the foil, silver side uppermost to the sticky strip. Rubbing the foil adheres it to the sticky tape.

The pressure applied to the foil may affect your score lines. These can be left as valley lines or turn your card over and re -score the lines from the back so they stand out, mountain style.
Layer the mint macaron card to silver matting and add to your base card.
To complete I have fussy cut the two feathers I previously stamped, to the front of the card using foam and added a sentiment.


 #30DayCardMakingChallenge

Friday, 1 May 2020

30 Day Challenge - Day Twenty nine. Floral Essence


I am not really into big patterns and to be honest I struggled with Martyn’s Mayhem challenge for day 29!
Today I saw another challenge, to make your own background paper and so inspired once again I have combined the two.


Using Stampin’ Up Floral Essence I have used a masking technique to achieve the background. I have chosen two different size flowers and stamped them a couple of times onto a ‘Post It’ and then fussy cut them out.


Continuing with Stampin’ Up supplies I have used Gorgeous Grape & Flirty Flamingo Cardstock and inks.  
Masking as I go, I have completely covered the white base with the alternating coloured flowers, the flowers were firstly stamped off onto scrap paper to get a lighter image. I have then added the centre detail in Pineapple Punch ink to complete my designer paper.

Backing the focal paper with the two main colours, I have completed the card with two matching fussy cut flowers, layered with dimensionals. 
Finishing with the matching ink sentiment onto white card and cut with SU Stitched Frame square dies, the sentiment card is set off centre in front of Gorgeous Grape matching square card.
I have completed with a few matching enamel dots. 

 #TGIFC269
 #30DayCardMakingChallenge


Tuesday, 28 April 2020

30 Day Challenge - Day Twenty eight. Little Ladybug


Only a few days left on Martins Mayhem challenge. I must admit I have struggled for the last few cards and I am quite behind, but determined to complete it! 
On this 28th day the challenge is to create a card for your best girlfriend!


This is the first time I’ve used this cute stamp set that was a host set with Stampin’ Up Sale-a-bration. It has such cute ladybirds and I love the phrases too. 


As a background, I have used an old DSP ‘Needlepoint Nook’ that had this lovely Poppy Parade striped paper. Stamping the ‘bugs’ in Poppy Parade onto white card stock for the centre of the Card, I  positioned the stamping each side to leave a central area to place the flower.
The flower was stamped in Daffodil Delight and using the Aqua Pens coloured with matching Daffodil Delight & the leaves in Pear Pizzazz ink, then fussy cut and mounted with foam. 


The sentiment is matching Poppy Parade and die cut with the Stitched Sweetly dies. A few diamanté’s have been added to give some highlights.

#30DayCardMakingChallenge


30 Day Challenge - Day Twenty seven. Tropical Oasis meets Tropical Chic!


‘Be the difference’ and make a card for someone who might need it is Martins Day 27 Card.


I am not a person who does a lot of bold flower cards and this Tropical Oasis DSP has some very vivid images. Sometimes you need to tone images down a little and with my chosen piece of DSP with the tropical flowers, I have toned them down a little with the use of vellum paper, used as a central focal point.


To the centre of the card I have picked up the Real Red colour from the flowers in both Card stock and the sentiment ink. The centre is also decorated with Tropical Chic leaves, flowers and the whisper white Flax Ribbon.

#30DayCardMakingChallenge

Saturday, 25 April 2020

30 Day Challenge - Day Twenty Six. Colour Challenge with Flowering Foils


For Day 26 of Martins 30 day challenge, there is another colour challenge. With the unusual colour combinations of Blackberry Bliss and Crushed Curry.


https://martinsmayhem.co.uk/2020/03/30-day-card-making-challenge.html


I used Stampin’ Up supplies with the Crushed Curry inked onto the background of the Flowering Foils DSP. This paper has Rose Gold highlights which really seemed to be picked up by the Blackberry Bliss card it was mounted onto.


 I have again used the Blackberry Bliss cardstock on the central sentiment cut from Foliage Frames dies and stamped in matching ink sentiment from the same set, Floral Frames stamp set.


#30DayCardMakingChallenge


Friday, 24 April 2020

30 Day Challenge - Day Twenty Five with Bird Ballad & Pressed Petals


For Day 25 - creating a card for a friend. Cheering somebody up, especially those that have been in self isolation during this Clovid-19 epidemic!


https://martinsmayhem.co.uk/2020/03/30-day-card-making-challenge.html

Using Stampin’ Up supplies, with paper from Pressed Petals dsp as the background for this card, but instead of the floral side I have chosen the music paper to highlight a singing bird and then layered onto Pineapple Punch Cardstock and white card base.


Using the Bird Ballad dsp, I have fussy cut a larger bird. This paper also has some wonderful decorative blossoms that have been fussy cut to go around the Cuckoo clock, that has been revamped as a Bird house using the stamp form the ‘Cuckoo for You’ stamp set and coloured with matching ink using the Aqua pen.


I rediscovered a ‘Paper Pumpkin’ set that was offered in Australia last year ‘Hugs from Shelli’ and used these sentiment stamps onto Pineapple Punch Cardstock layered with matching ‘Mossy Meadow’ Cardstock and Pineapple Punch ribbon.


#30DayCardMakingChallenge

Thursday, 23 April 2020

30 Day Challenge - Day Twenty Four. A Card Sketch with Candles & Confetti.


We are on the way finishing this 30 day challenge, from which I have really benefited!
https://martinsmayhem.co.uk/2020/03/30-day-card-making-challenge.html


Today is a sketch challenge and I have used a few different Stampin’ Up! supplies. I was inspired by the background paper, ‘Birthday Bonanza’ with the colourful balloons!


Working on the three front panels, I thought this card would be ideal for a third birthday and so continued with the same bright colour scheme.
I have picked up on the background colours sorting through my stash, I found the paper from ‘Animal Outing’ giving a lift to the panels without being too overpowering.


Using the candles and balloons from SU ‘Candles & Confetti’ dies in coordinating colours, I have added the candles to the three cut panels and the balloons to the sentiment. 
I was originally intending to use balloons on the left of the sentiment, reflecting the challenge, but preferred the more subtle placement to the right.


#30DayCardMakingChallenge